2
Define ACH Accounts
2.1
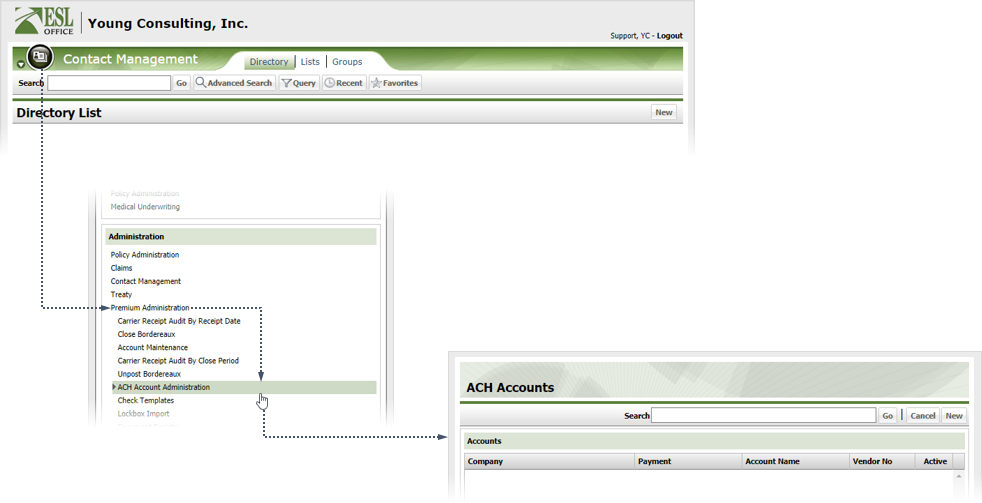
Click the Menu button, then Premium Administration from the Administration list, then ACH Account Administration to display the ACH Accounts window.
2.2
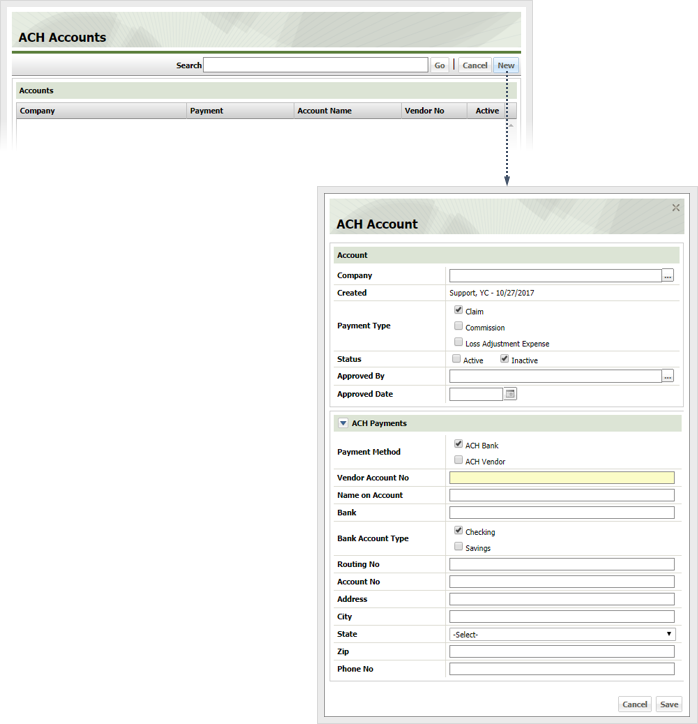
Click New to display the ACH Account window.
2.3
Create the account as follows
Company
Click the button to the right of the field and specify the desired vendor using the Vendor window.
Created
Who created the ACH account. Populated by ESL Office and is the currently logged in user.
Payment Type
Check the box corresponding to the type of payment for this account.
Status
Specify whether the account is active or inactive by checking the corresponding box.
Approved By
Click the button to the right of the field and use the Approved By window to specify who approved the account.
Approved Date
When the account was approved. Enter the date directly in the field in MM/DD/YYYY format or click the calendar icon and set the date using the date picker tool.
Payment Method
Check the box corresponding to how payments are processed. Checking a box disables the fields that do not pertain to it. Disabled fields are highlighted yellow.
Vendor Account No
Vendor account number goes here.
Name on Account
Enter the account name here.
Bank
Enter the bank name here.
Bank Account Type
Specify whether the account is a checking or savings account by checking the corresponding box.
Routing No
Bank routing number goes here.
Account No
Bank account number goes here.
Address
Bank street address goes here.
City
Bank city goes here.
State
Select the bank state from this drop-down list.
Zip
Bank zip code goes here.
Phone No
Bank phone number goes here.
2.4
Click Save.