3
Create Reserve Adjustment Reasons
3.1
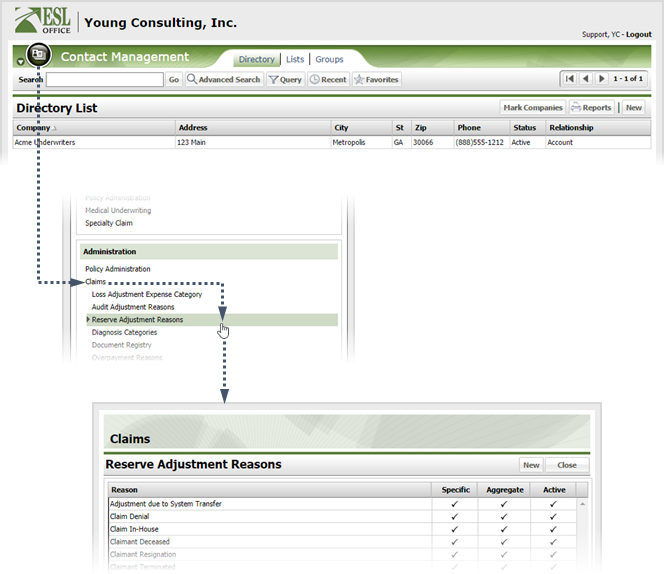
Click the menu button, then Claims from the Administration list, then Reserve Adjustment Reasons to display the Claims window. If you do not see the link, contact your ESL Office administrator to make sure you have sufficient permissions.
3.2
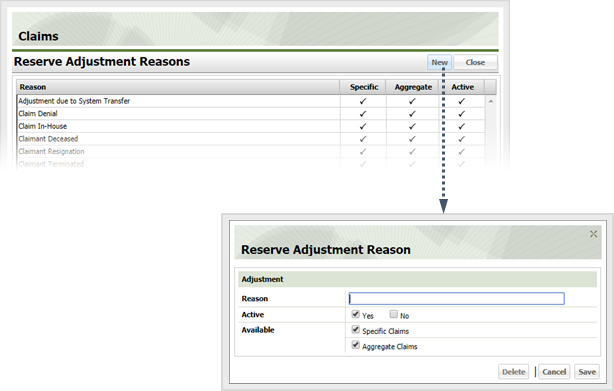
Click New to display the Reserve Adjustment Reason window.
3.3
Create the adjustment reason as follows.
Reason
Name the adjustment reason here.
Active
Check Yes if you want the adjustment reason to be active and available to users. Check No to mark the adjustment reason as inactive and unavailable.
Available
Check the box corresponding to the situations where the adjustment reason will be available to use.
3.4
Click Save.