10
View / Edit Claimant Notices
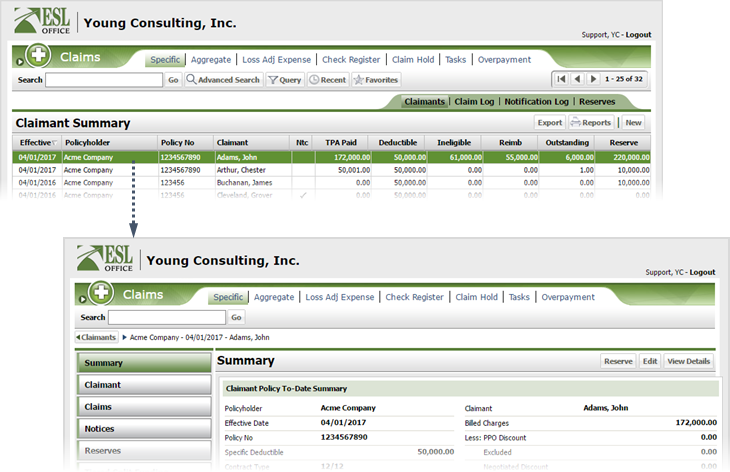
10.1
Search the desired claimants from any specific sub tab.
10.2
Click the desired claimant from the list.
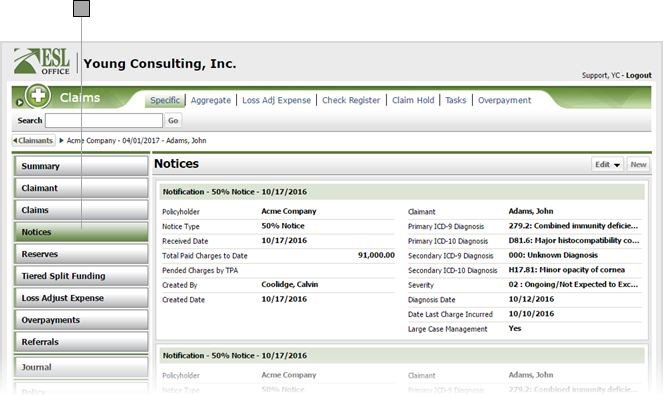
10.3
Click the Notices category button.
10.4
If you want to edit a notice, click Edit and choose the desired notice from the drop-down to display the Specific Claim Submission window.
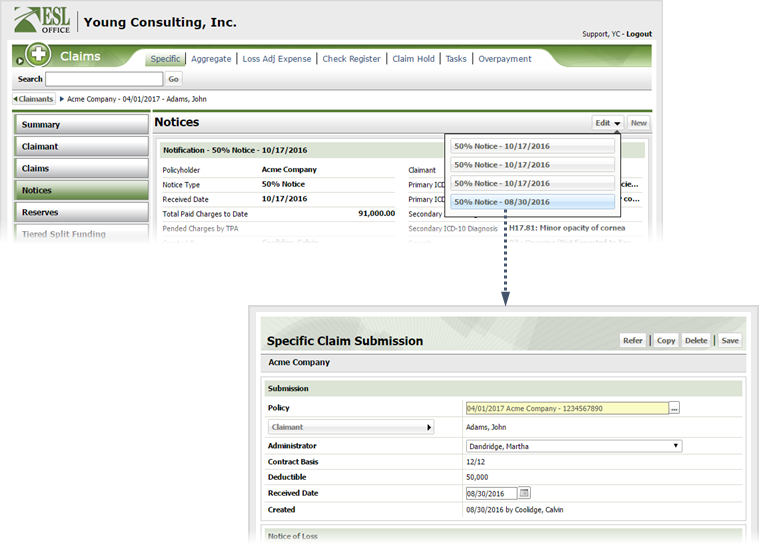
10.5
Document the Submission information as follows.
Policy
Claimant policy. Populated by ESL Office. You cannot edit this field.
Claimant
Who the submission is for. This is your selected claimant and cannot be edited.
Administrator
Select the appropriate administrator from the drop-down.
Contact Basis
Policy contract basis. Populated by ESL Office based on the policy selection.
Deductible
Plan deductible. Populated by ESL Office based on the policy selection.
Received Date
When the claim was received. Enter the date directly in the field in MM/DD/YYYY format or click the calendar icon and specify the date using the date picker tool.
Created
When the submission was created and by whom. Populated by ESL Office.
10.6
Document the Notice of Loss as follows.
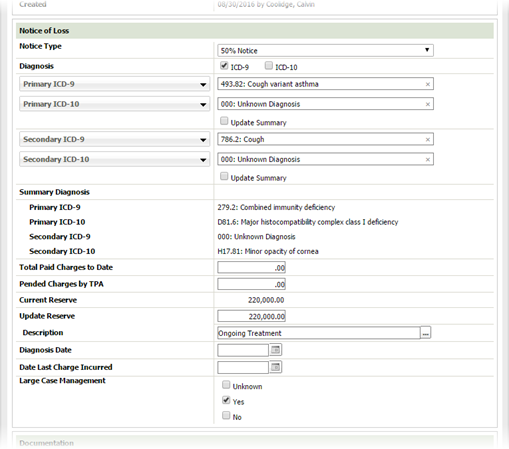
Notice Type
Specify the appropriate notice type from the drop-down.
Diagnosis
Check the box corresponding to the ICD codes you will be using for diagnosis information.
Primary ICD-9
Click the button and search for and specify the primary ICD-9 diagnosis using the Select Claim Diagnosis window.
Primary ICD-10
Click the button and specify the primary ICD-10 diagnosis. If you are using ICD-9 diagnosis codes (the ICD-9 box is checked), clicking the Primary ICD-10 button displays the Select ICD-10 Diagnosis window where you can select the corresponding ICD-10 code. If you are using ICD-19 diagnosis codes (the ICD-10 box is checked), the Select Claim Diagnosis window appears where you can search for and select the appropriate ICD-10 diagnosis. If you want to update the summary with the diagnosis, check the Update Summary box.
Secondary ICD-9
Click the button and search for and specify the secondary ICD-9 diagnosis using the Select Claim Diagnosis window.
Secondary ICD-10
Click the button and specify the secondary ICD-10 diagnosis. If you are using ICD-9 diagnosis codes (the ICD-9 box is checked), clicking the Secondary ICD-10 button displays the Select ICD-10 Diagnosis window where you can select the corresponding ICD-10 code. If you are using ICD-10 diagnosis codes (the ICD-10 box is checked), the Select Claim Diagnosis window appears where you can search for and select the appropriate ICD-10 diagnosis. If you want to update the summary with the diagnosis, check the Update Summary box.
Summary Diagnosis
Displays the diagnosis you selected above when you check the Update Summary box.
Total Paid Charges to Date
Enter total charges paid to date here.
Pended Charges by TPA
Enter any pended charges from the third-party administrator here.
Current Reserve
Current reserve. Populated by ESL Office based on your claimant selection.
Update Reserve
If desired, modify the reserve in this field.
Description
Provide a description for the reserve update here by clicking the button next to the field and specifying the reason from the Select Reason window.
Diagnosis Date
Specify when the diagnosis was made. Enter the date directly in the field in MM/DD/YYYY format or click the calendar icon and set the date using the date picker tool.
Date Last Charge Incurred
Specify when the last charge on the claim was incurred. Enter the date directly in the field in MM/DD/YYYY format or click the calendar icon and set the date using the date picker tool.
Large Case Management
Check the box corresponding to whether the claim falls under large case management.
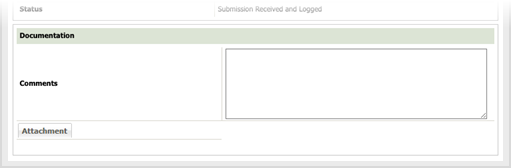
10.7
Add any desired comments to the submission in the Comments text area. If you want to add any documentation to the submission, click the Attachment button and locate the desired document.