Generate Policy Documents
Generating policy documents requires Internet Explorer 11, the Microsoft Edge browser or the Chrome browser with the Meta4 ClickOnce Launcher plugin and a copy of Microsoft Word. When using Chrome, you will need to log out and back into ESL Office after installing the plugin.
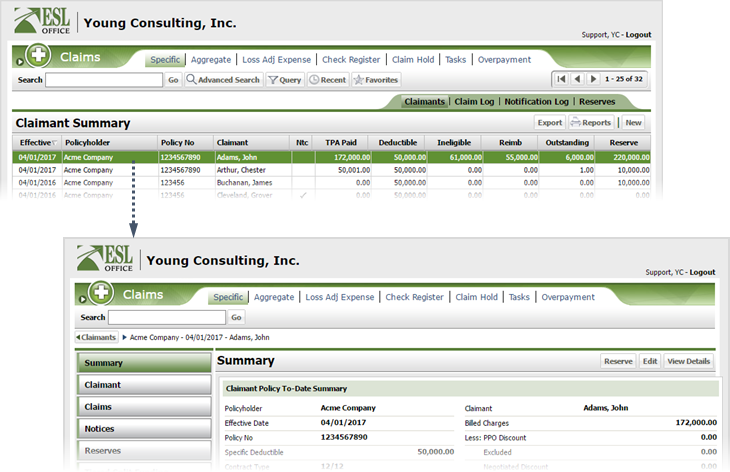
Search the desired claimants from any specific sub tab.
Click the desired claimant from the list.
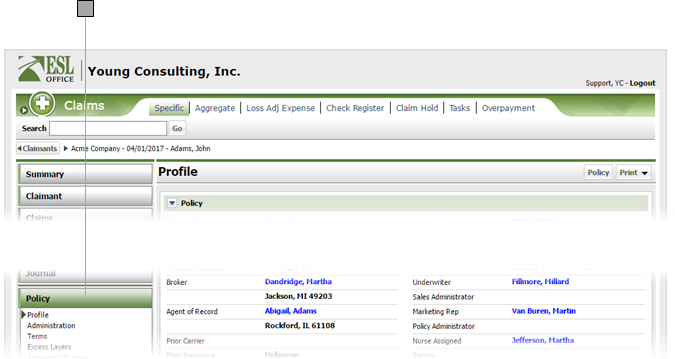
Click the Policy category button.
Click Policy. If this is the first time you have assembled and printed policy documents, ESL Office downloads and installs the policy plugin. Once the plugin installs, the Policy Documents window opens showing all the registered sub-documents for the policy. Policy sub-documents are registered by your ESL Office administrator.
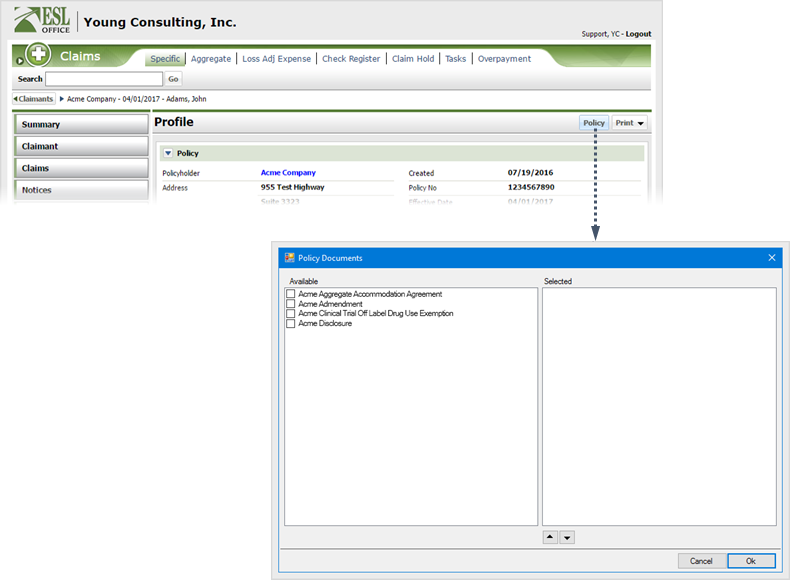
Check the box by each sub-document you want to assemble into your policy document. Checked items appear in the Selected area. Clear a check box to remove the sub-document. Documents assemble in the order they appear in the Selected area.

Click OK. The Policy Documents app launches Word and displays the selected policy sub-document in the Policy Documents window.
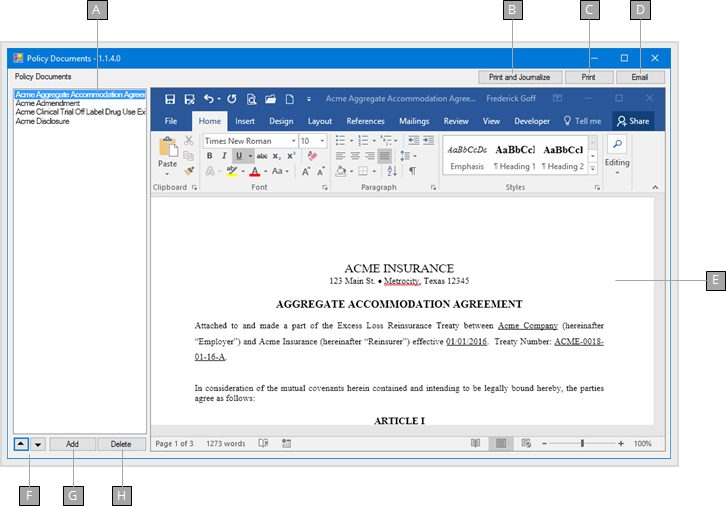
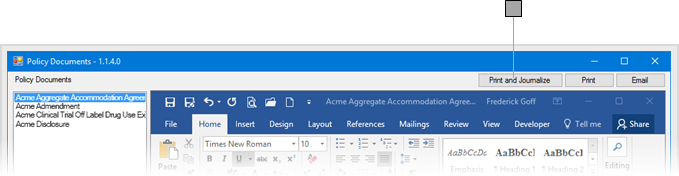
To assemble the sub-documents into a PDF, create a corresponding claimant policy journal entry, and attach the PDF to it, click Print and Journalize. Journal entry subject is the claimant and category is unassigned. You can change these by editing the entry.
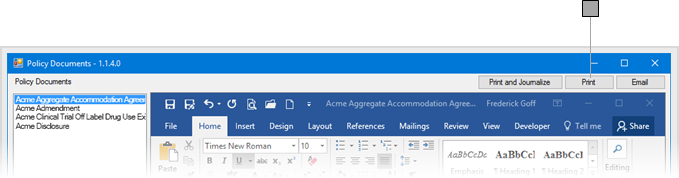
To assemble the sub-documents into a PDF, click Print.
To create an email with the assembled sub-documents as a PDF attachment, click Email. ESL Office displays the Email options window.
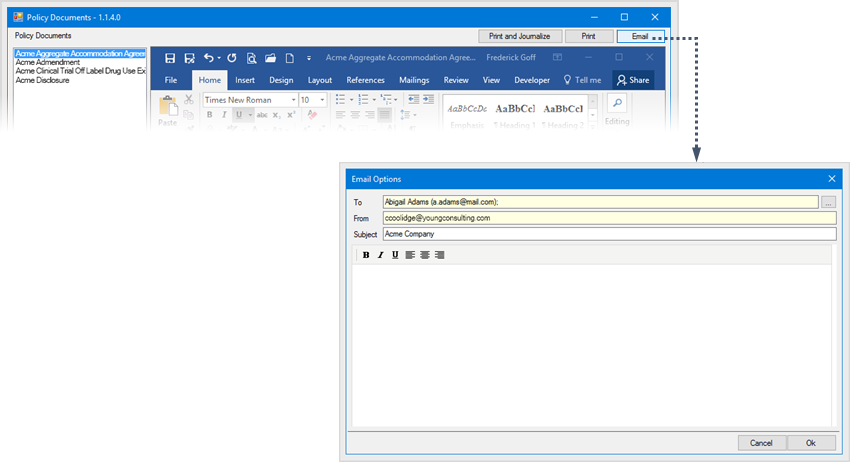
Create the email as follows
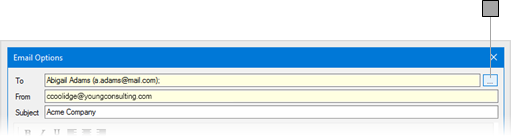
Who will receive the email. Edit or add recipients by clicking the button to the right and specifying the new recipients in the Select Email Recipients window.
Type the email message in the text area. Use the toolbar buttons to define typeface and text alignment.
Click OK. ESL Office does the following:
- Attaches the policy document PDF to the email and sends it.
- Creates a policy journal entry of the email. Journal subject is the claimant. Journal body is the email recipient, sender, subject line and mail message. Email attachment is included with the entry as an attached document.