13
View / Adjust Claimant Reserves
13.1
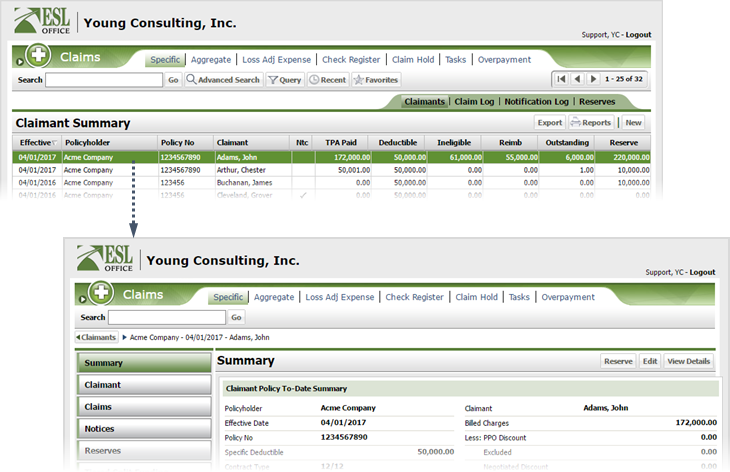
Search the desired claimants from any specific sub tab (Claimants, Claim Log, Notification Log, or Reserves).
13.2
Click the desired claimant from the list.
13.3
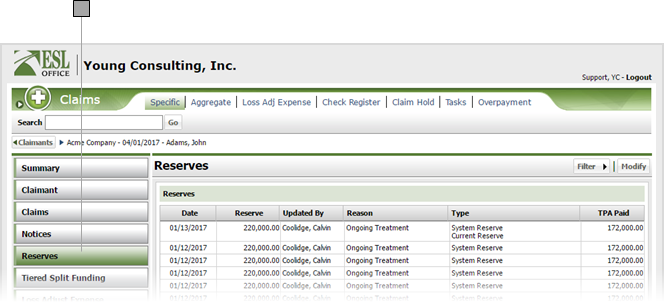
Click the Reserves category button.
13.4
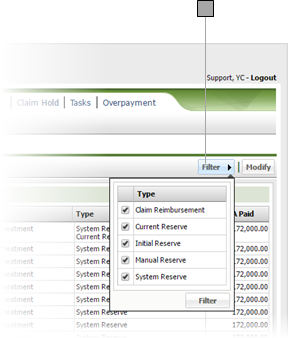
If desired, display the Filter drop-down and select the types of reserves you want displayed in the Reserves list by checking their box then clicking Filter.
13.5
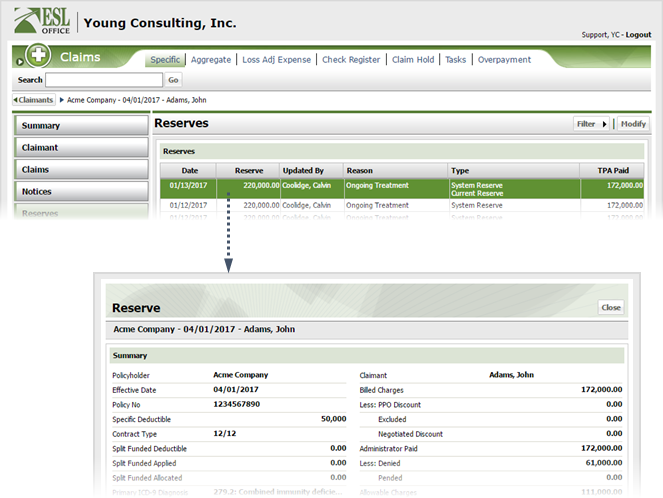
Click a reserve if you want to see its associated claim.
13.6
To manually adjust reserves for the claimant, click Modify to display the Reserve window.
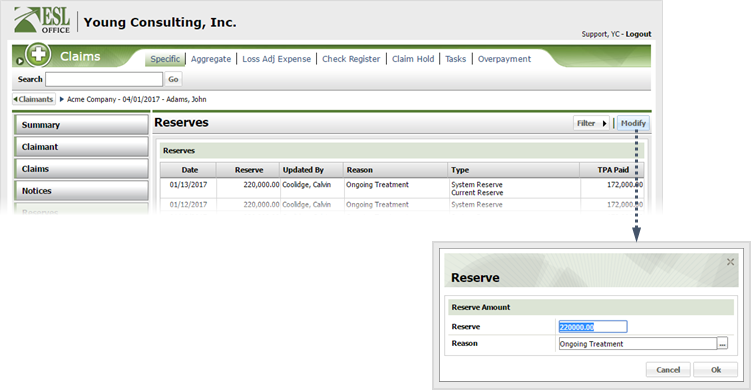
13.7
Enter the new reserve amount in the Reserve field.
13.8
Click the button by the reason field and specify the adjustment reason from the Select Reason window.
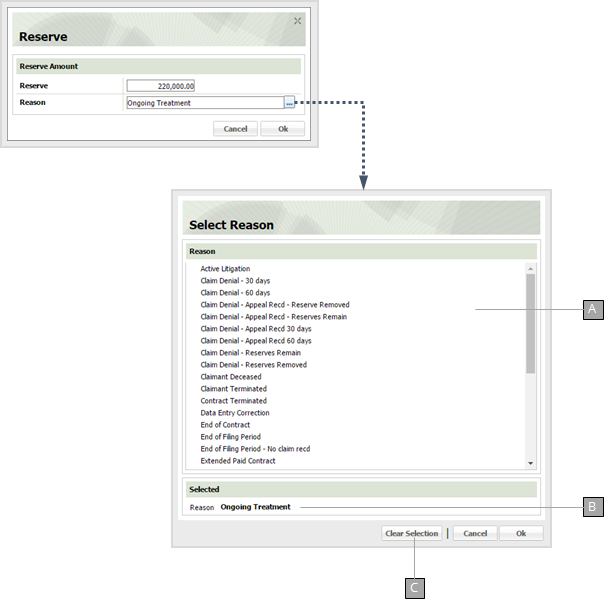
A
Reserve adjustment reasons. Click a reason to select it, then click OK. Reasons are defined by your ESL Office administrator.
B
The currently selected adjustment reason.
C
Clears your current adjustment reason.
13.9
Click OK to close the Reserve window.