User Defined Fields
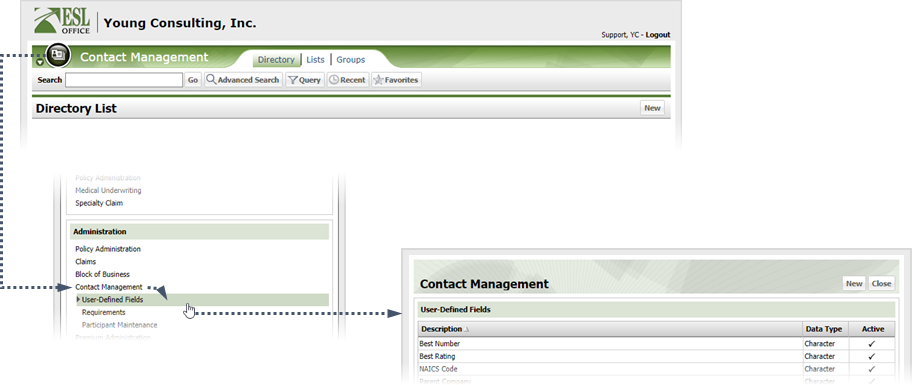
Click the menu button, then Contact Management from the Administration list, then User-Defined Fields to display the Contact Management window. If you do not see the link, contact your ESL Office administrator to make sure you have sufficient permissions.
Click New to display the User-Defined Fields window.
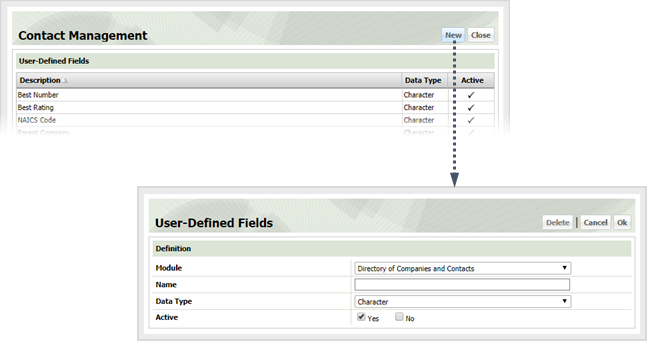
Create the user-defined field as follows
Use this drop-down to specify the type of user-defined field and how it appears to the user.
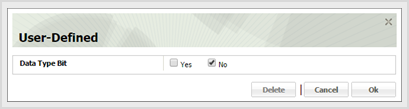
The user-defined field presents to the user as a Yes / No checkbox.
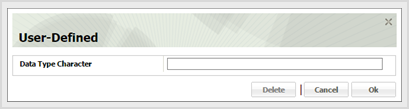
The user-defined field presents as a text field where you can enter any alphanumeric string.
The user-defined field presents as a date field where you can enter the date directly in the field in MM/DD/YYYY format or click the calendar icon and set the date using the date picker tool.

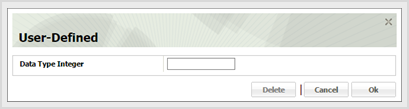
The user-defined field presents a field that only accepts integers.
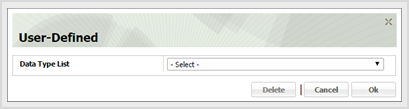
The user-defined field presents as a drop-down list.
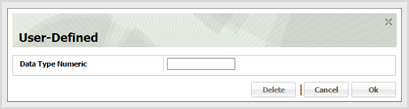
The user-defined field presents as a field that can accept any number format (integer or decimal).
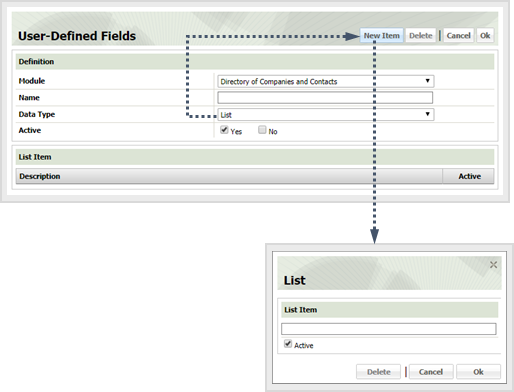
If you selected List as the data type, define the list items by clicking the New Item button to display the List window. The New Item button appears when you choose the List data type.