Apply a Policy Suspense
Applying a suspense lets you take excess funds for a policy and apply it toward an invoice.
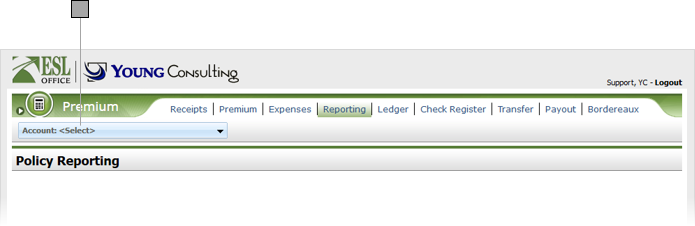
Click the Account button and locate the desired account using the Search window.
Make sure the Receipts sub-tab is selected and click Apply Suspense. ESL Office shows all suspends for the policy.
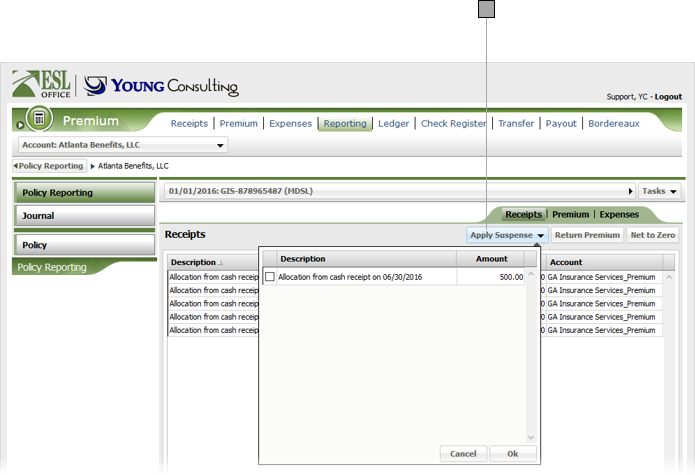
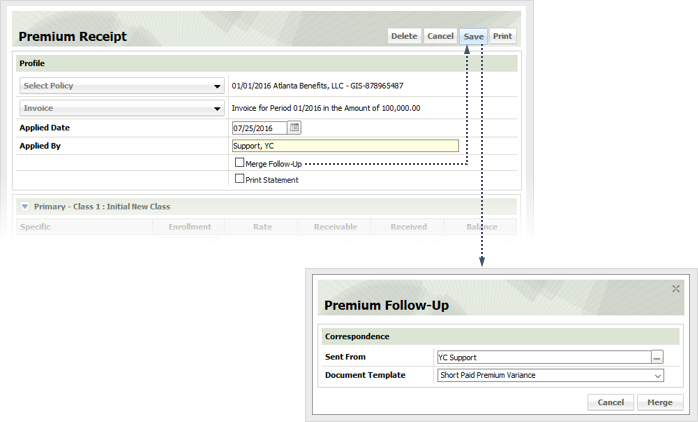
Check the suspend you want to apply, then click OK to show the Premium Receipt window.
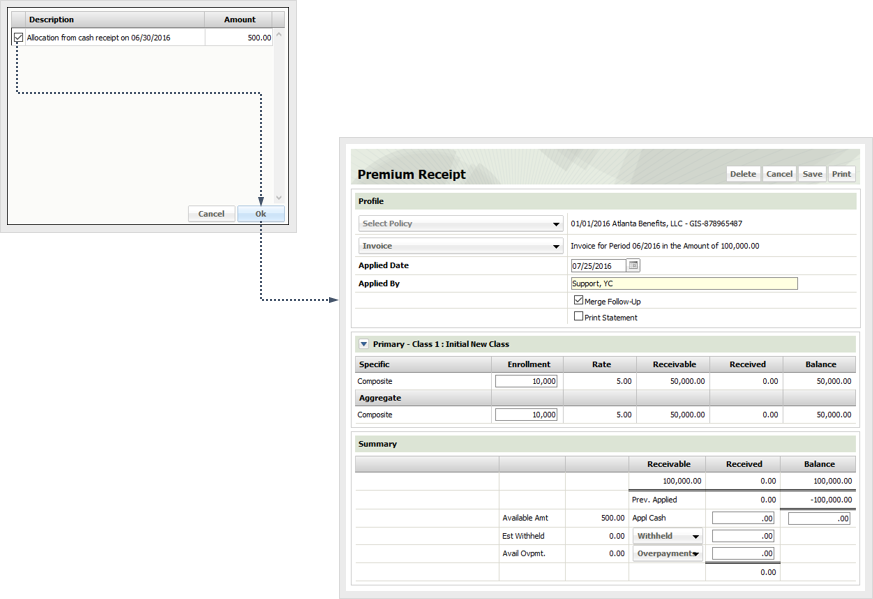
Click the Invoice button and choose the invoice you want to apply funds to from the list.

Specify the remaining policy information as follows.
Click Save. If you checked Merge Follow-Up, the Premium Follow-Up window appears.
Specify who is sending the follow up. The default sender is the currently logged in user. If you want to change the sender, click the button to the right. Search for the desired company and click it to display the contacts defined for that company. Click the desired contact to place him or her in the Sent From field.
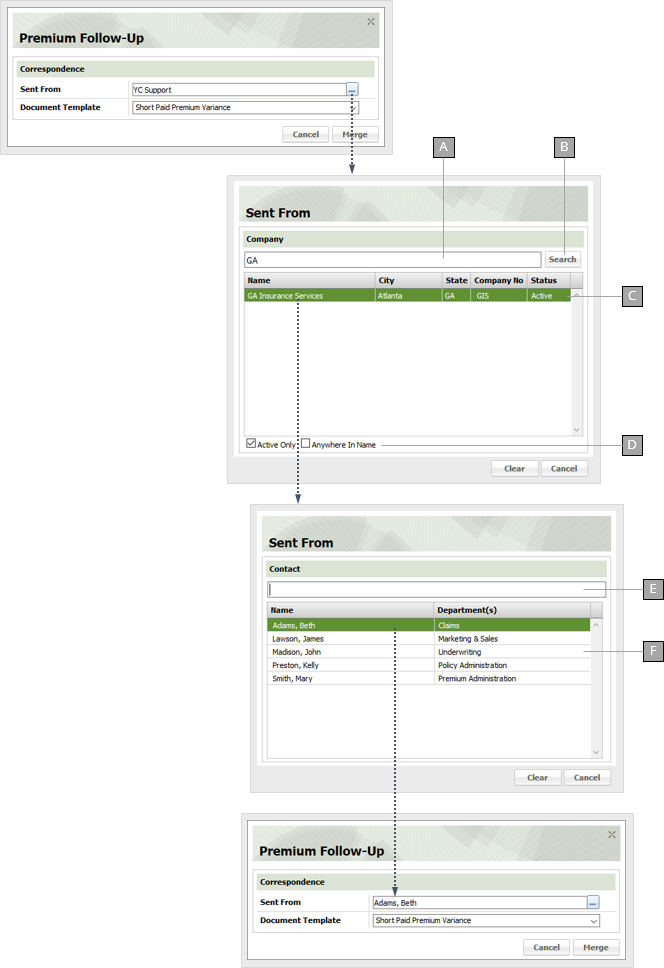
Enter some or all of the desired company name here.
Executes the search.
Search results appear here. Click a company to see its authorized contacts.
Check Active Only to limit your search to active companies. Check Anywhere in Name if you want to return matches on your search text no matter where it appears in the company's name. Clear this box to only return company whose names begin with your search text.
Filter the contact list to only those listings matching what you enter here.
List of all authorized contacts for the specified company. Click a contact to place him or her in the Premium Follow-Up Sent From field.
Specify the follow-up form to use from the Document Template drop-down and click Merge.
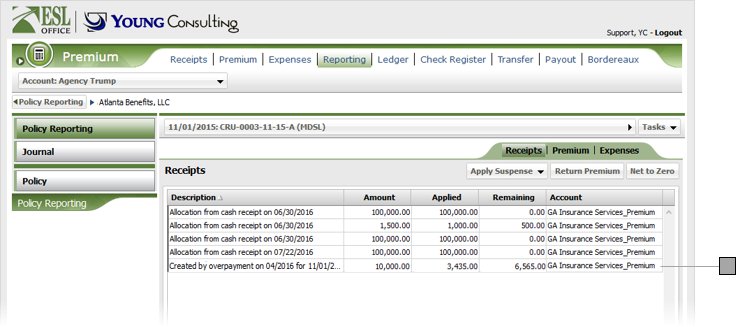
When you are finished creating the new premium, it appears in the list of receipts for the policy.