3
Allocate to Group Suspense
3.1
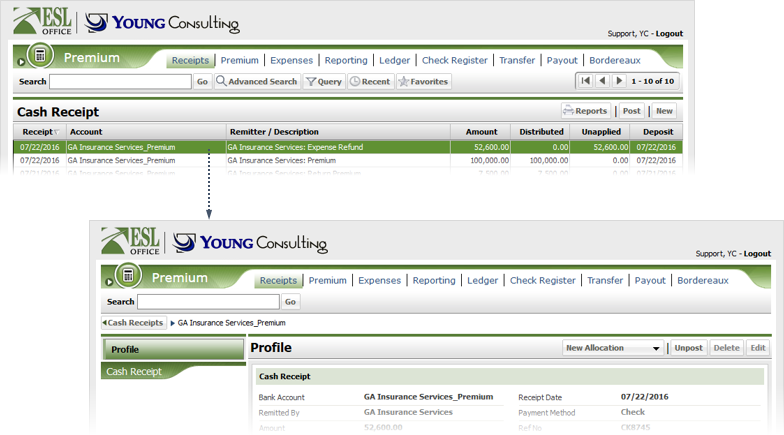
If necessary, search for the receipt you want to allocate.
3.2
Click the desired receipt to displays its profile.
3.3
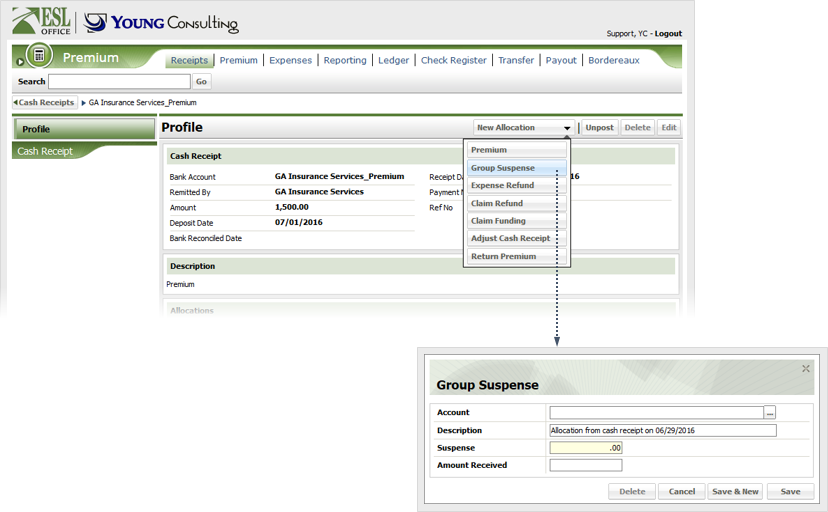
Click New Allocation, then choose Group Suspense to display the Group Suspense window.
3.4
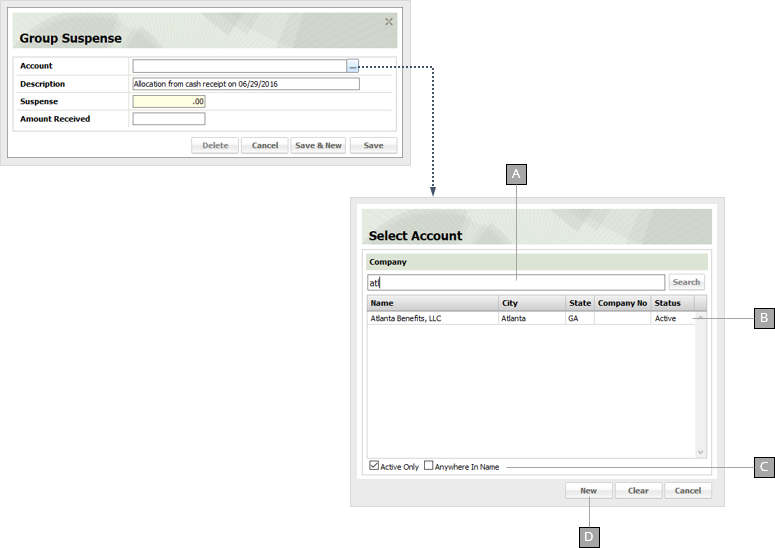
Click ... to the right of Account and search for then select the appropriate account.
A
Enter a portion of the company name here.
B
Results matching your search text appear here.
C
Check these boxes to modify your search as follows:
Active Only
Limits search results to active accounts only.
Anywhere In Name
Returns matches if your search text appears anywhere in the policyholder name. Leaving this box clear only returns results that begin with your search text.
D
Displays the Company window so you can create a new account.
3.5
Specify the remaining group suspense information as follows.
Description
State the reason for the group suspense here.
Suspense
The total amount due. Created by ESL Office and non-editable.
Amount Received
The amount allocated from the receipt toward the group suspense.
3.6
Click Save to create the allocation and close the Group Suspense window. Click Save & New to create the allocation and leave the Group Suspense window open for additional allocations.