Create a premium allocation when you are applying some or all of the cash receipt toward an invoiced premium.
2.1
If necessary,
search for the receipt you want to allocate.
2.2
Click the desired receipt to displays its profile.
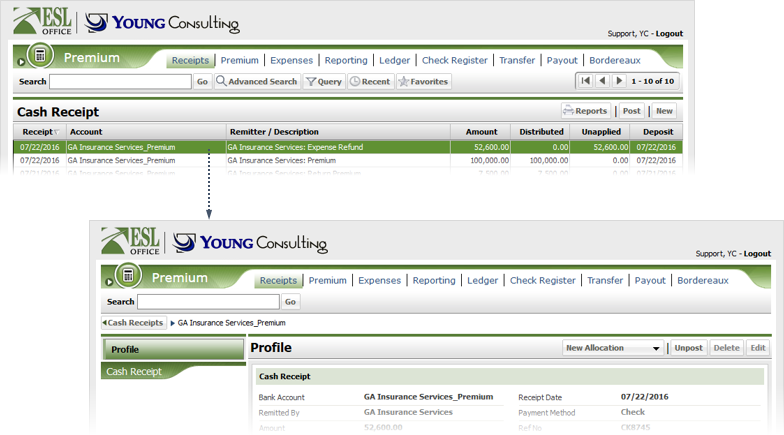
2.3
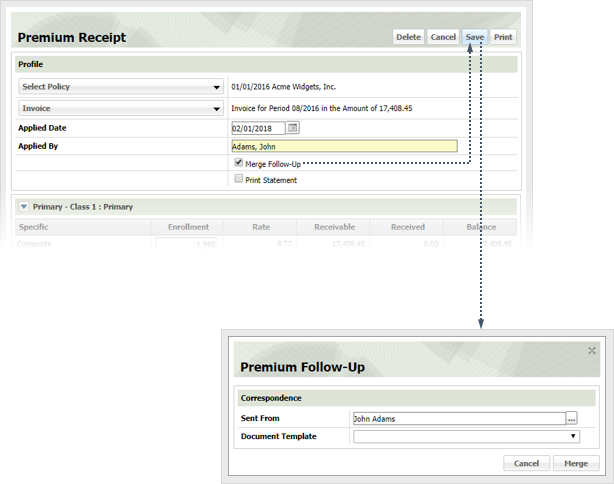
Click New Allocation, then choose Premium to display the Premium Receipt window.
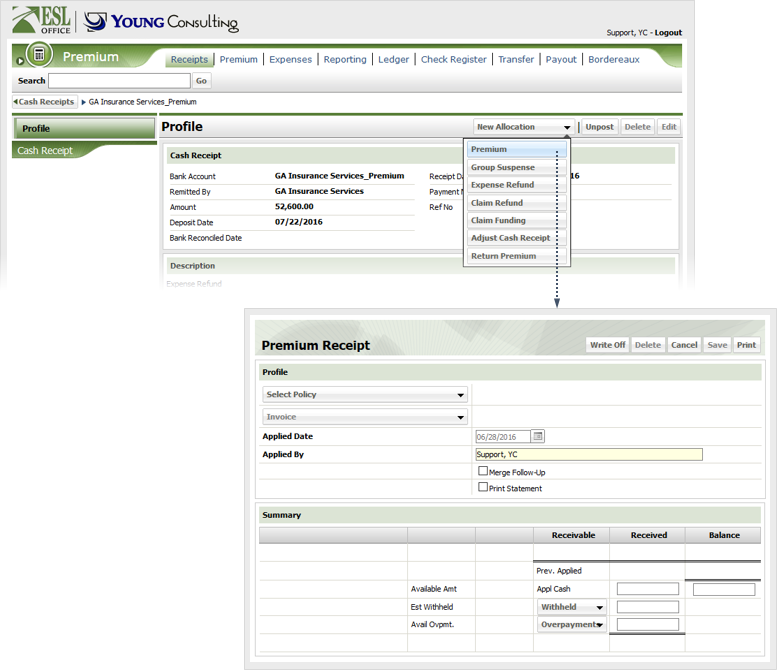
2.4
Allocate receipt money as follows
Select Policy
Click and specify the policy you are allocating funds to using the
Select Policy window. Once you have selected the policy, ESL Office updates the Premium Receipt window with the policy information.
Invoice
ESL Office displays the most current invoice for the selected policy by default. If you want to allocate to a different invoice, click the Invoice button and choose the desired invoice from the list.
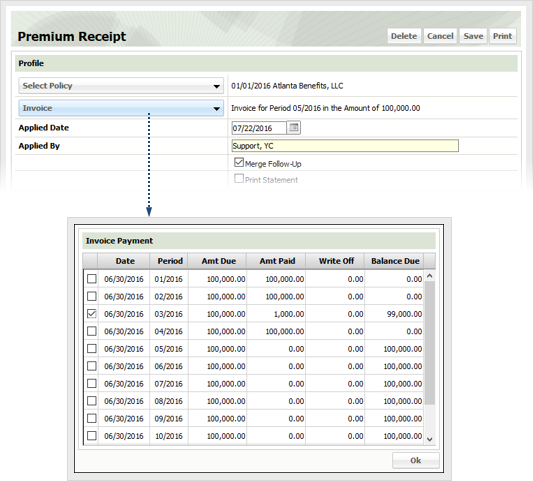
Applied Date
When you are allocating the receipt funds. Defaults to the current date. If desired, enter a new date directly in the field in MM/DD/YYYY format or click the calendar icon and set the date using the
date picker tool.
Applied By
Who is allocating the funds. Populated by ESL Office and is the currently logged in user. You cannot change this field.
Merge Follow-Up
Check to send a follow-up email to the policy holder regarding any premium over or under payments.
Print Statement
Check to generate a PDF of the statement after you have completed and saved the allocation.
2.5
Specify enrollment numbers as needed. The tiers you see depend on the policy selected.
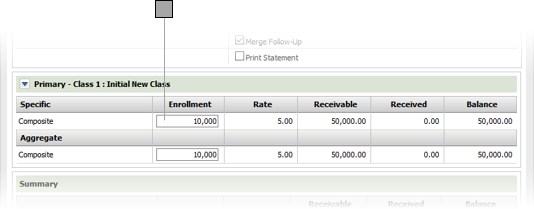
2.6
Specify the receipt amount you want to apply to the policy premium in the Appl Cash field.
2.7
Enter any withheld amount in the field next to the Withheld button, then click the Withheld button to display the Expense Deductions window. Specify the withheld amount applied to each coverage and click OK.
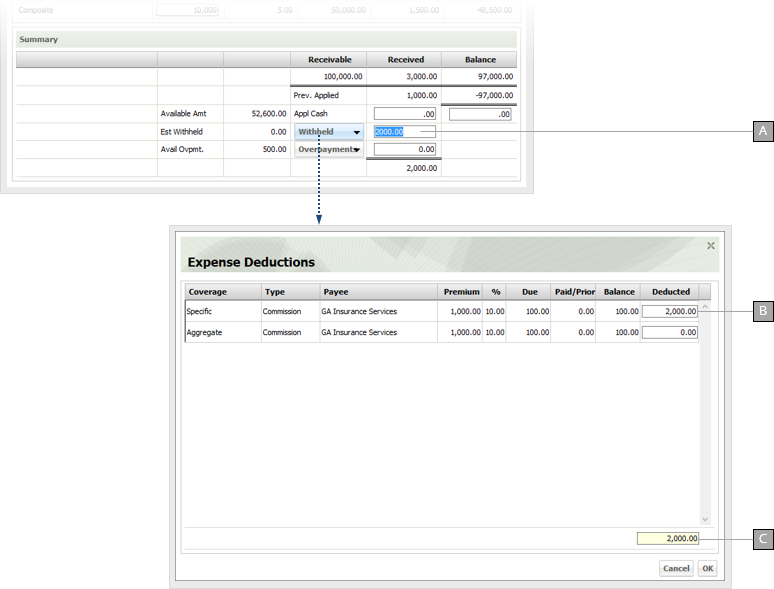
A
Withheld amount goes here.
B
Use these fields to specify how much of the withheld amount applies toward each coverage.
C
The sum of all deducted amounts entered for policy coverages. Calculated by ESL Office and must equal the withheld amount.
2.8
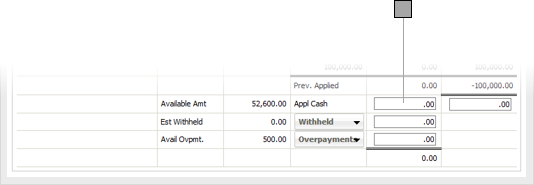
Enter any overpayment amount in the field next to the Overpayment button, then click the Overpayment button to display the Apply Premium window. Distribute the overpayment as desired and click OK.

A
Overpayment amount goes here.
B
Use these fields to allocate the overpayment.
C
The sum of all overpayment allocations. Calculated by ESL Office and must equal the overpayment amount.
2.9
Click Save to create the allocation. Click Delete to delete the allocation. Click Print to generate a PDF of the allocation. If you checked the Merge Follow-up or Print Statement boxes, the Premium Follow-up window appears when you click Save or Print.
2.10
Specify the follow-up information as follows and click Merge.
Sent From
Who is sending the correspondence. Defaults to the currently logged in user. If you want to change who is sending the correspondence, click the ... button and choose the new sender using the
Sent From Search window.
Document Template
Choose the template you want to use for the correspondence from this drop-down.