4
Amend a Reconciliation
4.1
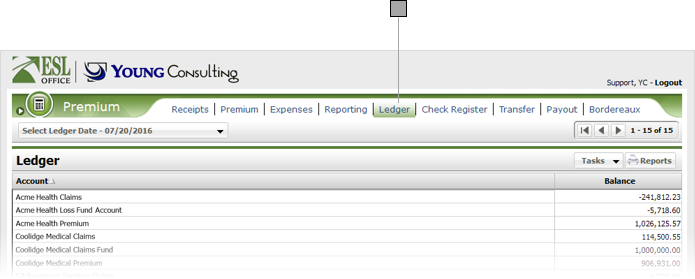
Click the Ledger tab. ESL Office displays ledger information for the current day by default.
4.2
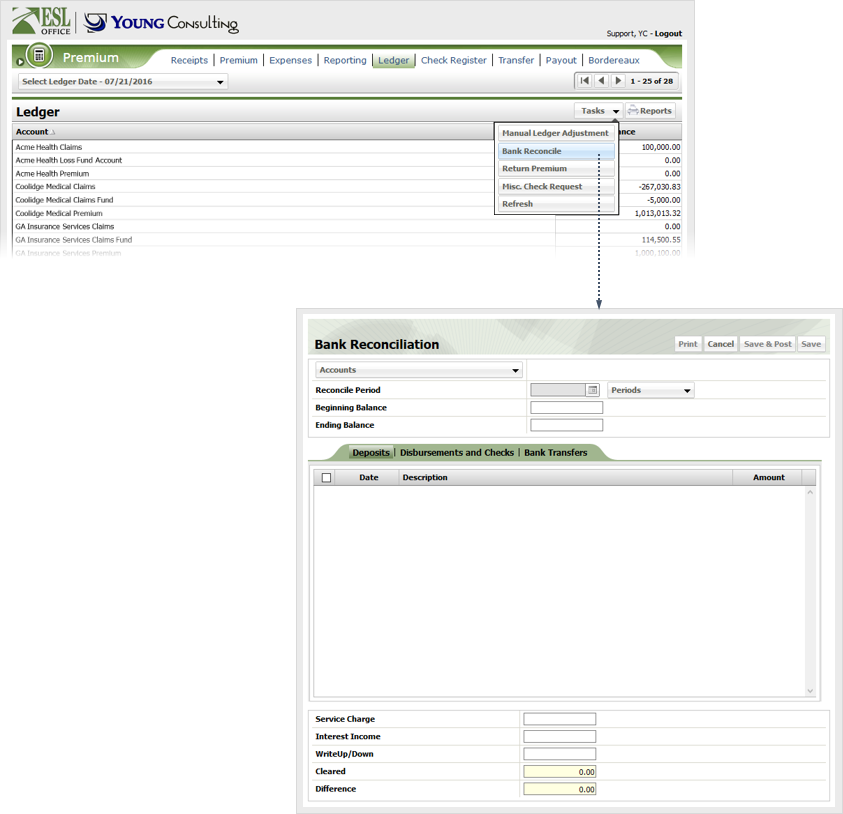
Click Tasks then Bank Reconcile to display the Bank Reconciliation window.
4.3
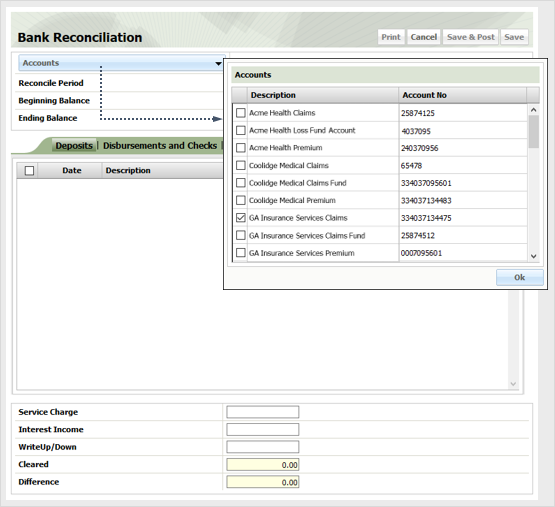
Click Accounts to display the Account window.
4.4
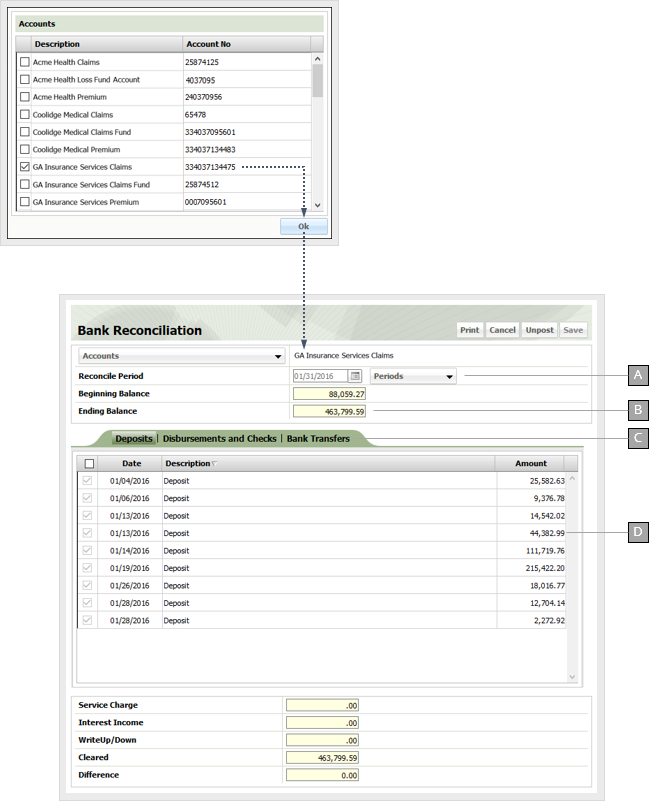
Check the box next to the account containing the reconciliation you want to amend, then click OK to close the window and populate the Bank Reconciliation window with the account transaction information.
A
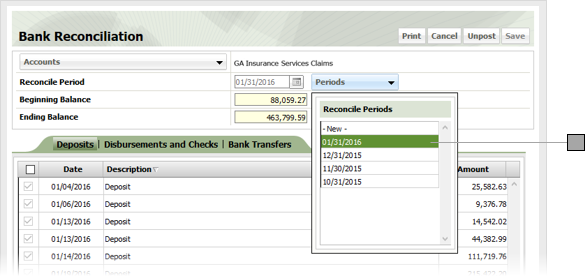
Reconcile period. Use the drop-down to specify a different period or start a new reconciliation.
B
Yellow fields are auto-calculated by ESL Office and cannot be edited.
C
Use these sub-tabs to view and clear the various transaction types for the reconciliation period.
D
Transactions. Grayed out check boxes indicate the cleared transactions are for a closed period.
4.5
Click Periods and choose the reconciliation you want to amend.
4.6
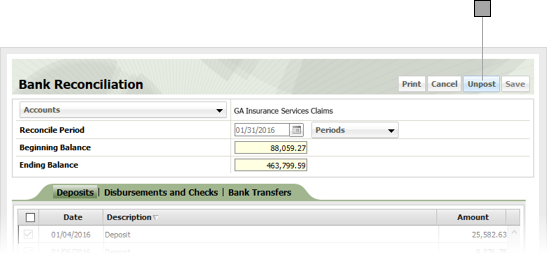
Click Unpost to re-open the period.
4.7
Amend the reconciliation as follows
Reconcile Period
The reconciliation period. Defaults to today's date for new reconciliations. Enter a different date directly in the field in MM/DD/YYYY format or click the calendar icon and specify the reconciliation date using the date picker tool.
Beginning Balance
Starting balance. Calculated by ESL Office and equals the ending balance from the previous reconciliation period.
Ending Balance
Enter the ending balance for the reconciliation period in this field.
4.8
Check the box next to each transaction to clear it for the reconcile period. Use the sub tabs to select and clear each transaction category as necessary.
4.9
When finished, do one of the following:
Click Print
Generates a PDF of the reconciliation.
Save
Saves the reconciliation without closing it.
Save and Post
Saves the reconciliation, generates the Reconciliation Report and re-closes the period.