3
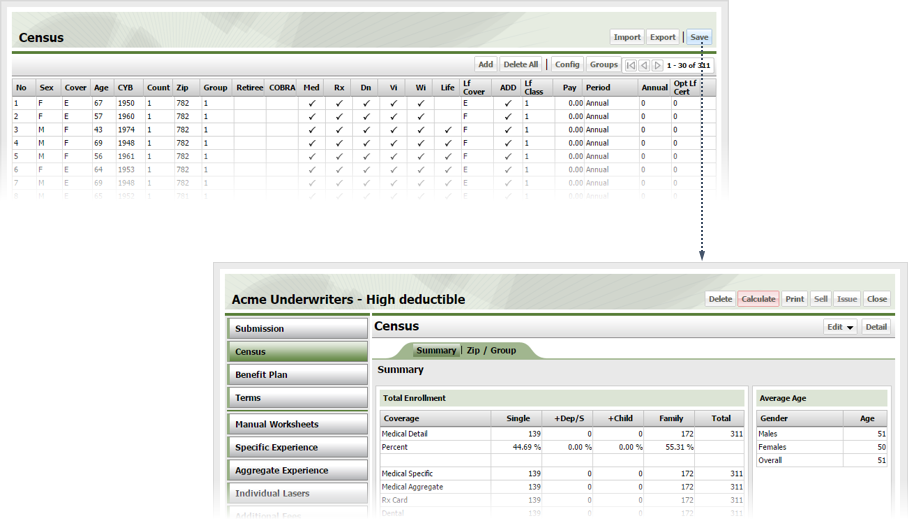
Add Census Data
3.1
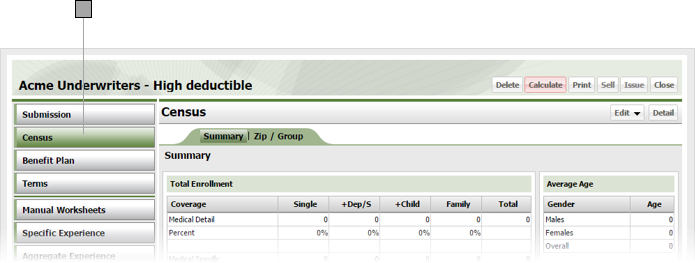
Click the Census category button on the Scenario page.
3.2
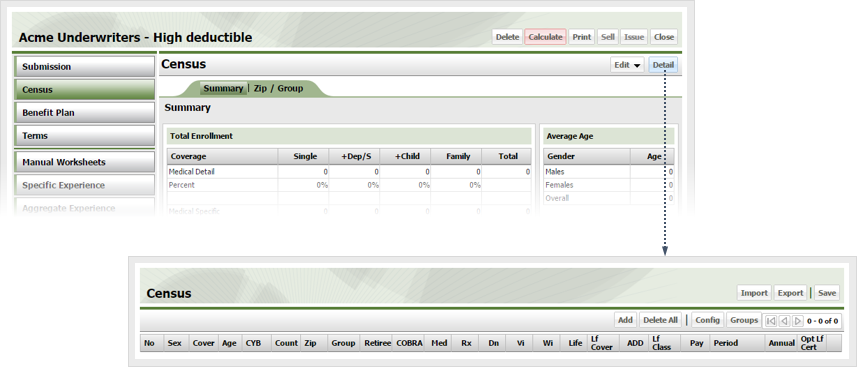
Click Detail to display the Census window.
3.3
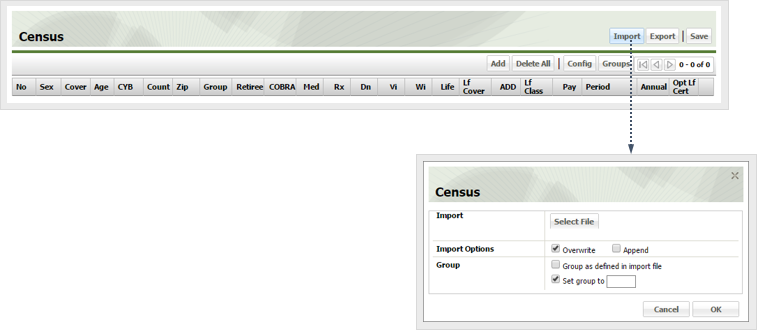
Click Import.
3.4
Click Select File and choose the import file containing your census data. Import files need to be in Excel format. You can use the import template provided by Connexure.
3.5
Specify how you want to import the census data by checking the corresponding box as follows
Overwrite
The imported data replaces all existing census data.
Append
The imported data is added to the end of your existing census data.
3.6
Specify how you want to group the imported census data by checking the corresponding box as follows. Use groups to organize your census data along areas of commonality (for example, by region or location).
Group as defined in import file
Check this box to use the group value in the import file.
Set Group to
Check this box to ignore any group data in the import file and instead place all census data in the group you specify in the field.
3.7
Click OK to import the data into the Census window.
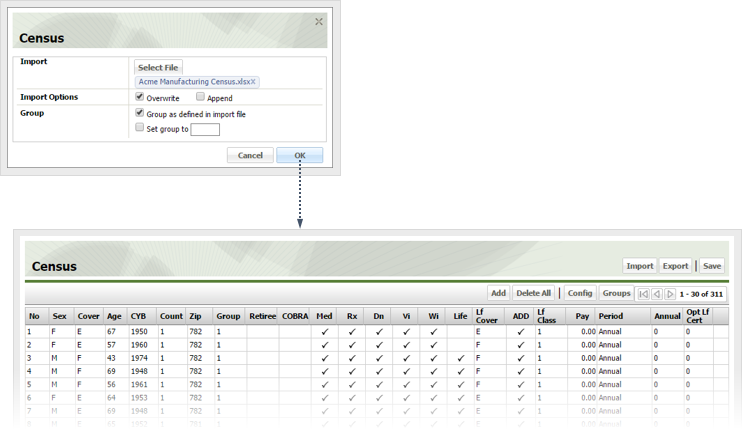
3.8
Click Save to update the census section of the scenario with your imported data.