Request Additional Stop Loss Information
If you need to request additional stop loss information to complete the submission, do the following.
If necessary, search for and select the desired submission to display its profile.
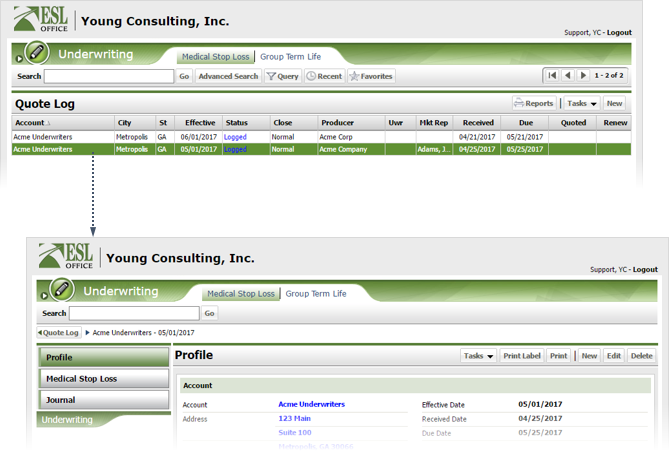
Click Tasks and choose MSDL - Request Additional Information to display the Request Additional Info window.
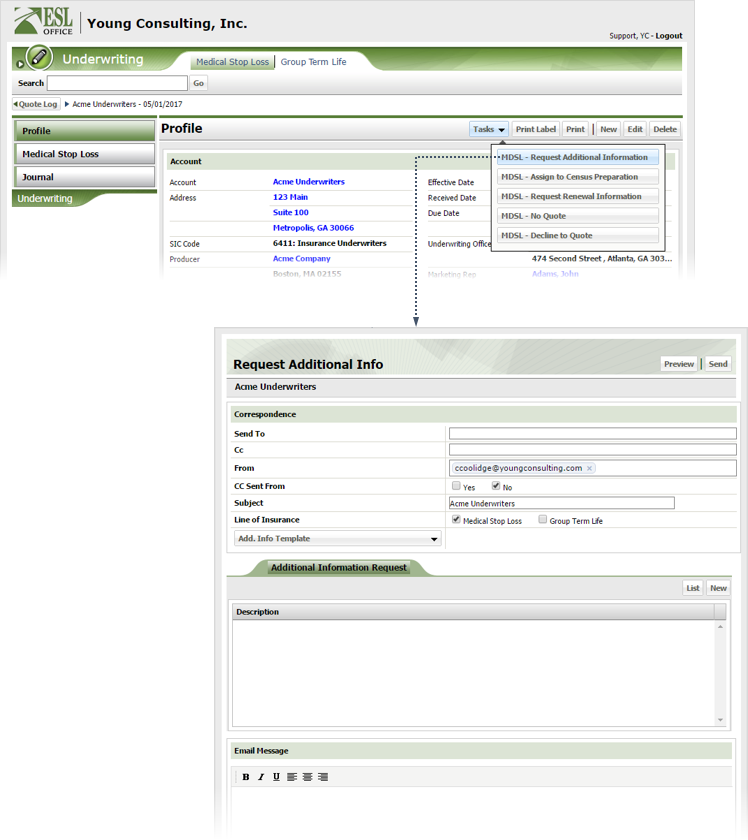
Create the information request as follows
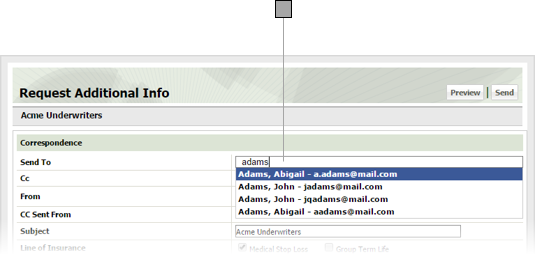
Who you are sending the information request to. Begin typing the recipient name in the field, and ESL Office will search in real time for matches. Select the desired recipient from the list. You can only specify recipients who are already in the system. See Contact Management for more information.
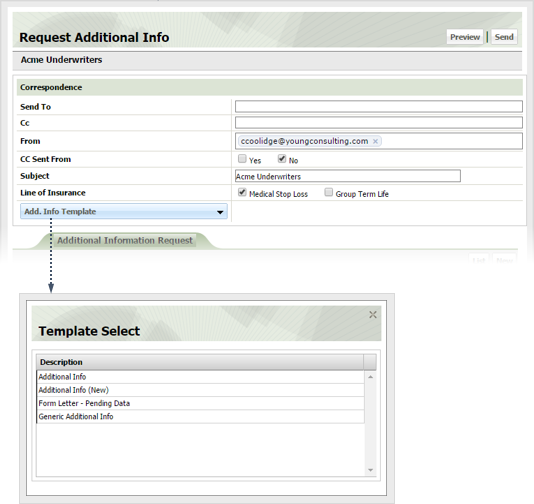
Click this button and choose the template you want to use for the request form from the Template Select window that appears. ESL Office generates a PDF using this template and attaches it to your email.
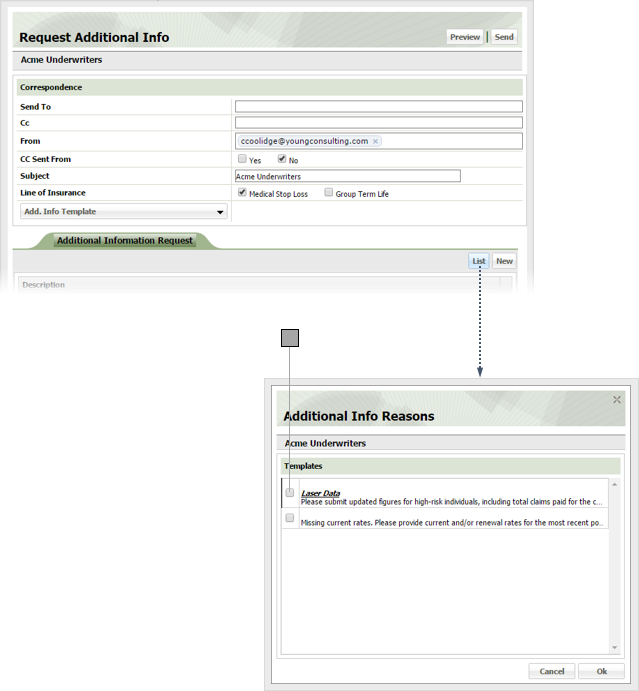
Specify the additional information you want by clicking List and choosing the desired information request from the Additional Information window. Check the box by the desired reasons and click OK.
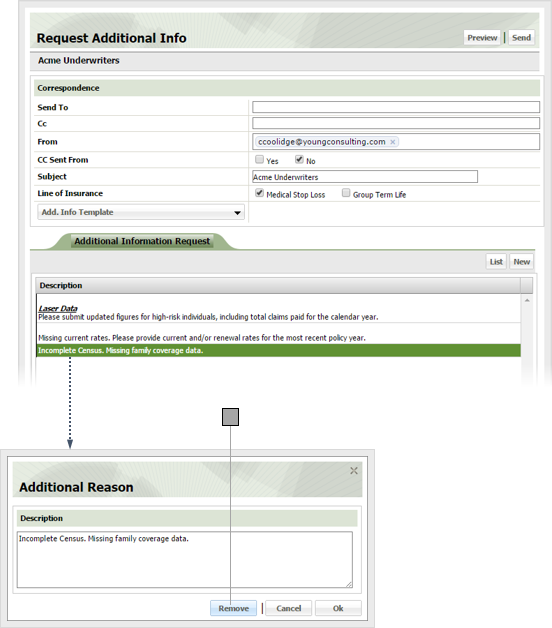
If you want to create a custom information reason request, click New to display the Additional Reason window. Enter the request in the text area and click OK.

Remove any custom information requests desired by clicking them on the Additional Information Request list, then clicking Remove in the Additional Reason window.
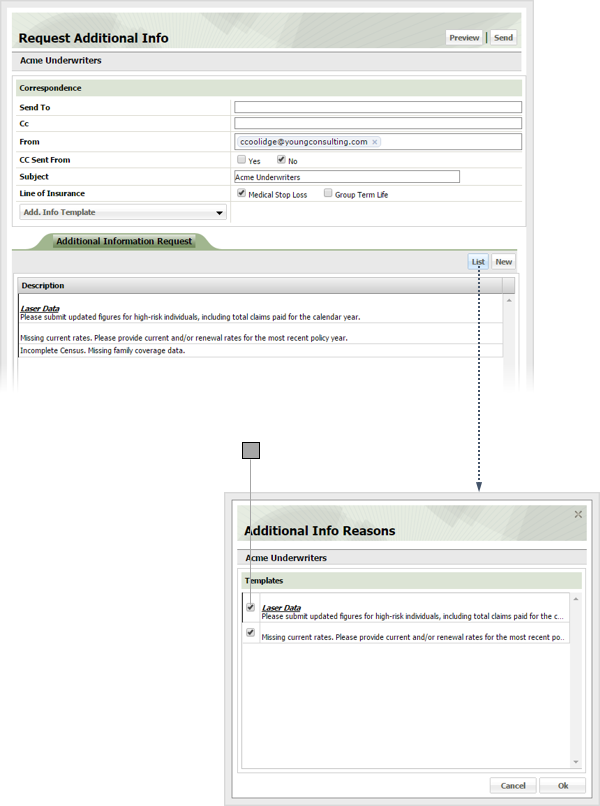
Remove any template information requests desired (you clicked the List button to add) by clicking the List button to display the Additional Info Reasons window. Clear the box by the items you want to remove and click OK.
Enter your email message in the Email Message text area. Use the toolbar buttons to set message typeface and alignment.
If you want to preview the additional information form ESL Office will generate and attach to your email message, click Preview.
Click Send.