Review and Edit Specific Experience
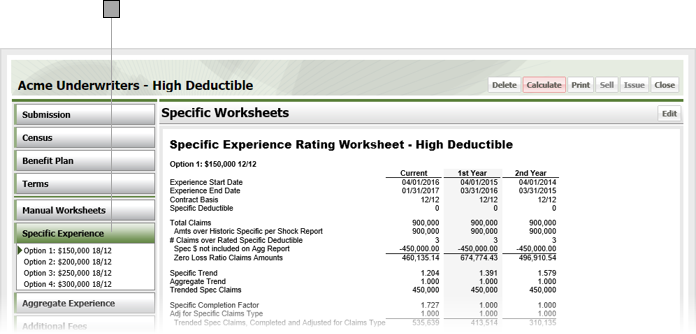
Click the Specific Experience category button on the Scenario page. Click an option under the category button to see its corresponding worksheet.
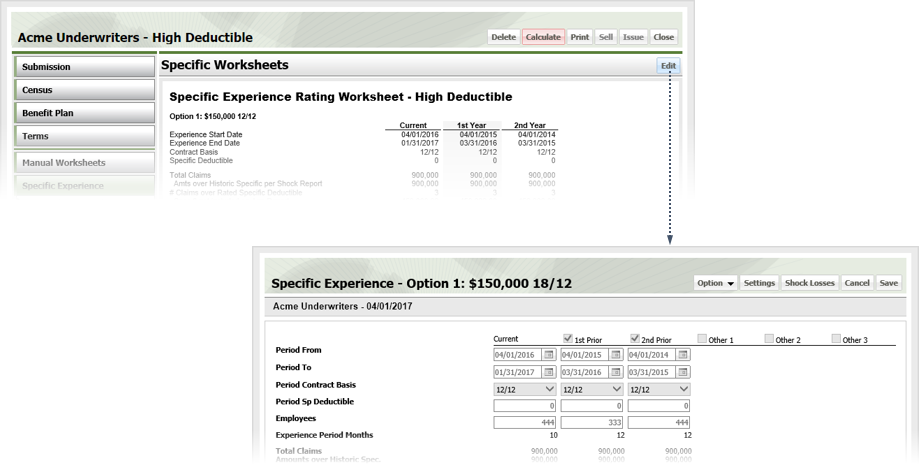
Click Edit to display the Aggregate Experience worksheet.
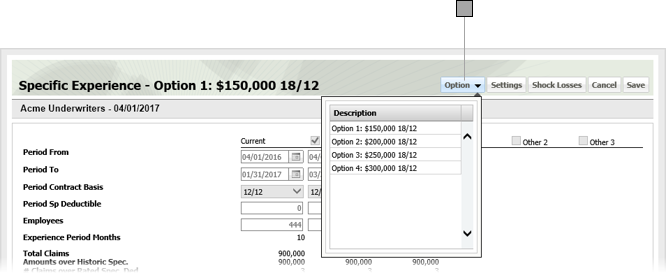
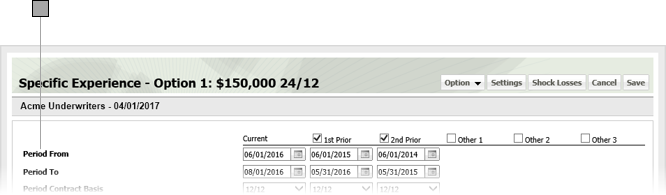
Select the option you want to adjust from the drop-down.
If you want specific experience to sync with aggregate experience, click Settings, check Sync, and click OK.

If you are not syncing specific and aggregate experience, check the box over each specific column you want to adjust.
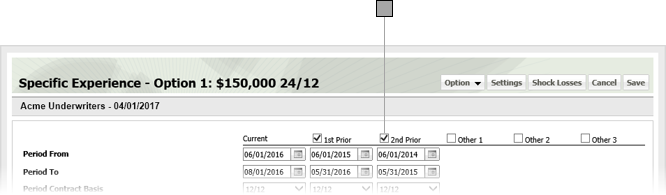
Specify column information as desired. Exact line items will vary depending on your particular business practices. For line items that require dates, you can enter the date directly in the field in MM/DD/YYYY format or click the calendar icon and set the date using the date picker tool. Yellow fields are calculated / populated by ESL Office.
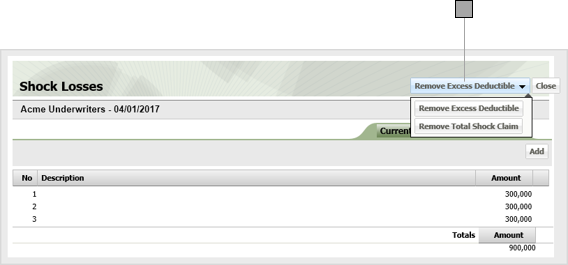
Click Shock Losses to display the Shock Losses window.

Use the drop-down menu to change how shock losses are treated as follows
To add shock losses, click Add and enter the amount in the new row that appears.
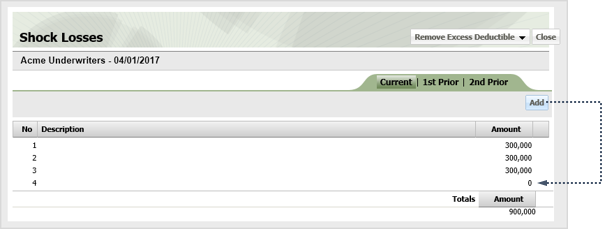
Click Close to save your shock loss data and close the Shock Losses window.
Click Save to close the Specific Experience window and save your experience edits.