7
Edit / Delete a Loss Adjustment
7.1
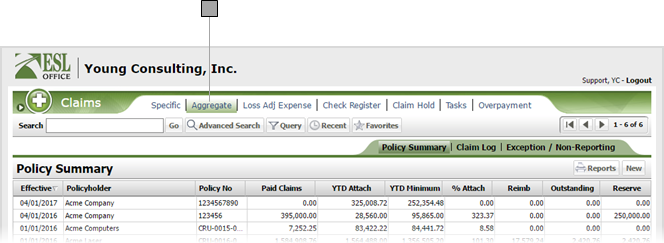
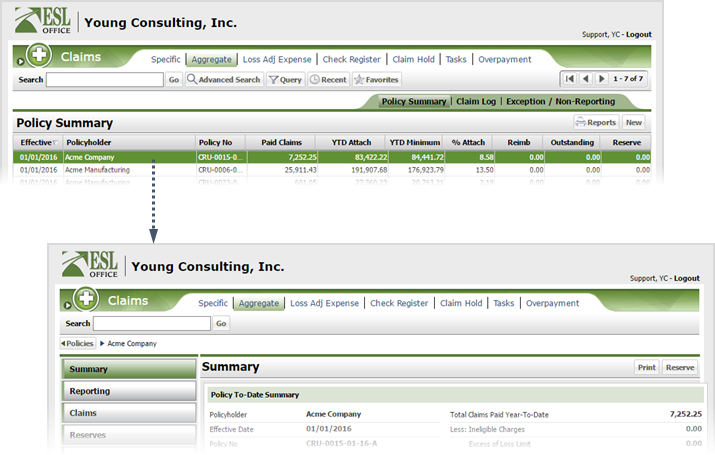
Click the Aggregate tab.
7.2
Search the desired policyholders from any sub tab.
7.3
Click the desired policy to view its summary information.
7.4
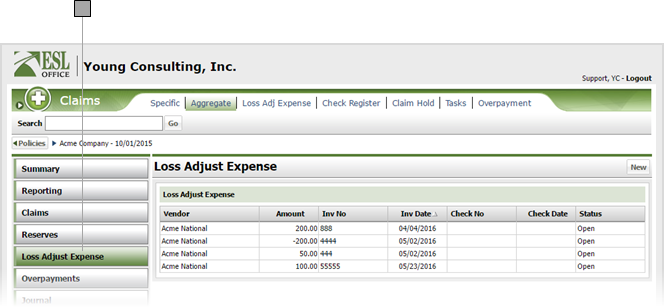
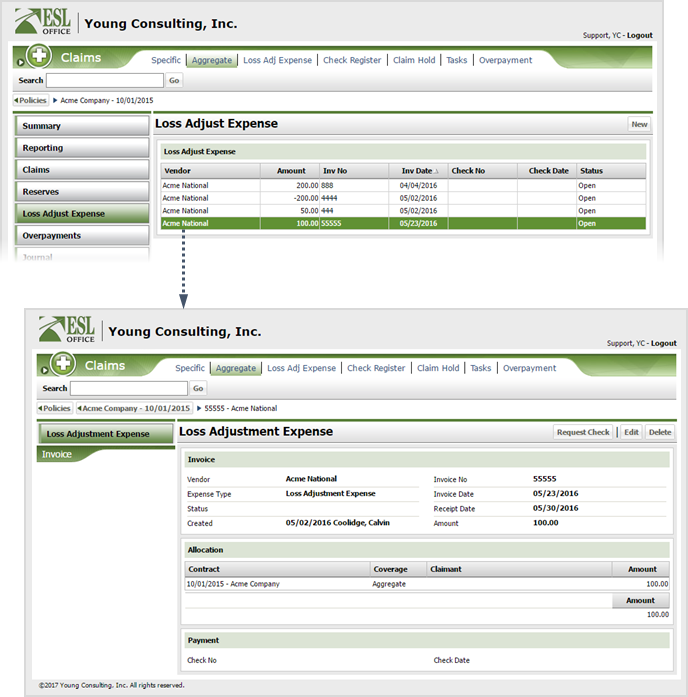
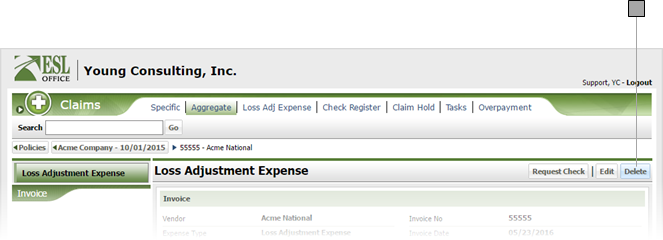
Click the Loss Adjust Expense button.
7.5
Click the desired expense entry.
7.6
Click Delete to delete the adjustment.
7.7
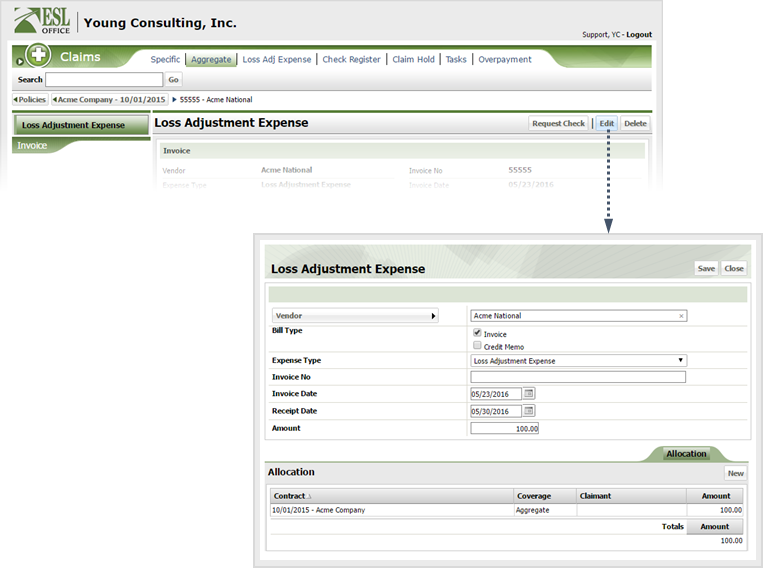
Click Edit to edit the adjustment.
7.8
Edit the loss adjustment as follows:
Vendor
Click the button and specify the vendor using the Company Search window. You can also begin typing the vendor name in the field, and ESL Office will display a list of vendors matching your entry. Select the desired vendor from the list.
Bill Type
Check the box corresponding to the type of bill being adjusted.
Expense Type
Choose the appropriate expense type for the adjustment from the drop-down list.
Invoice No
Enter a number for the invoice here.
Invoice Date
Enter the invoice date here. Enter the date directly in the field in MM/DD/YYYY format or click the calendar icon and set the date using the date picker tool.
Receipt Date
When the expense was received. Enter the date directly in the field in MM/DD/YYYY format or click the calendar icon and set the date using the date picker tool.
Amount
Adjustment amount goes here.
7.9
If you want to change the adjustment for an existing contract, click it from the Allocation list. If you want to create a new allocation, click New. The Allocation window appears.

7.10
Define or edit the allocation as follows:
Policyholder
Click the button to the right of the field and specify the policyholder using the Select Policy window.
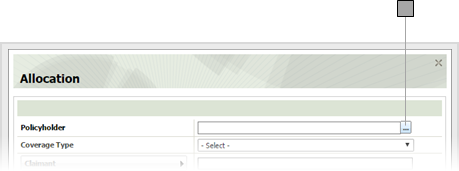
Coverage Type
Select the desired coverage type for the policy from this drop-down.
Claimant
Click the button and specify the desired claimant using the Account Claimant Search window. This button and field are only active if you choose Specific as coverage type.
Amount
Adjustment amount goes here.
7.11
Click one of the following:
Delete
Deletes the allocation.
Save & New
Saves the allocation and leaves the Allocation window open so you can create a new allocation.
Save
Saves the allocation and closes the Allocation window.
7.12
Click Save.