Configure User-Defined Information
ESL Office lets you define custom information you can then use to further define a company. User-defined fields are set up by your ESL Office administrator.
Search for the desired company.
Select the desired company to display its profile.
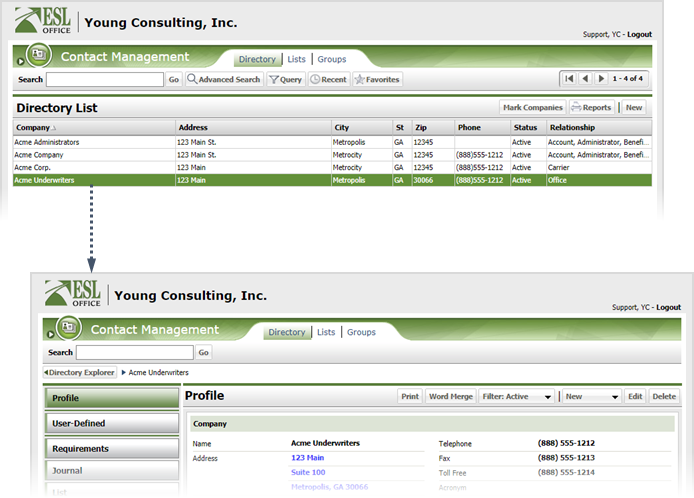
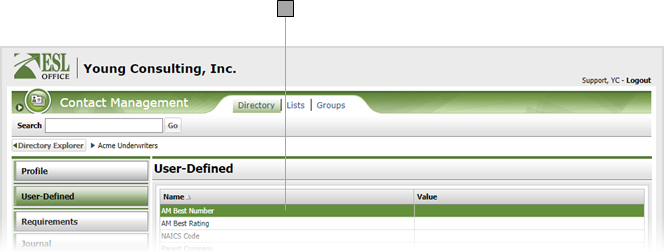
Click the User-Defined category button.

Select the desired user-defined field and set its value in the window that appears. Click OK.
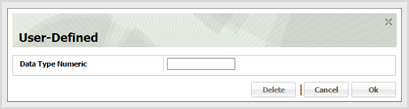
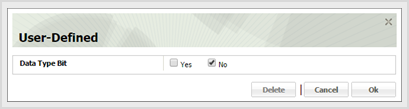
The type of value window you see depends on the user-defined field type as follows.
Yes / No value. Check the box next to the desired value.
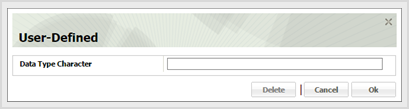
Alphanumeric string value. Enter the desired value in the text field.
Date value. Enter the desired date directly in the field in MM/DD/YYYY format or click the calendar icon and specify the date using the date picker tool.

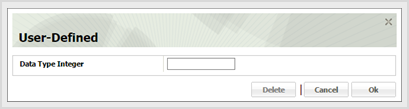
Integer value. Accepts only integers. Enter the desired number in the field.
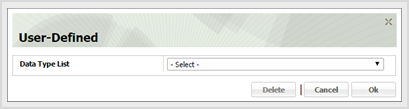
List value. Click the drop-down and select the desired value.
Numeric value. Accepts both integer and decimal numbers. Enter the desired number in the field.