Apply a New Premium
Applying a new premium lets you take unallocated funds from a cash receipt and apply it toward the invoice. The receipt must have already been allocated in some way toward the policyholder (usually as an overpayment or money allocated to Group Suspense).
Click the Invoice sub tab and search for the desired invoice.
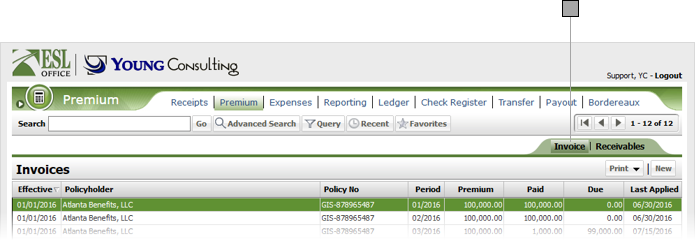
Click the desired invoice from the Invoices list to display its profile.
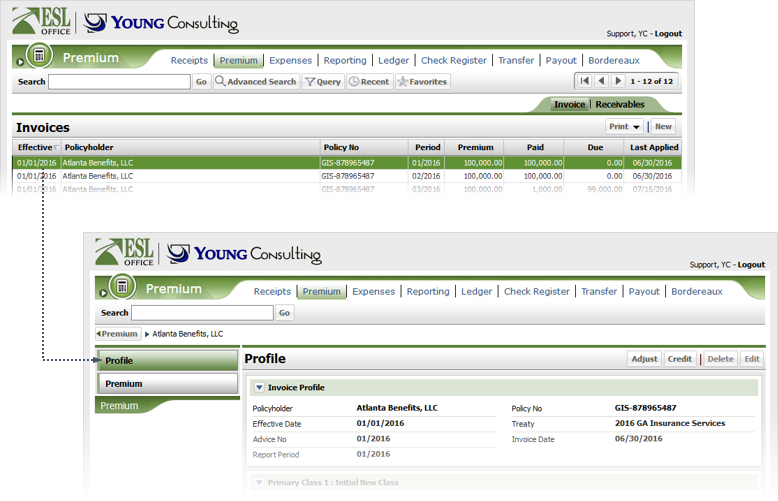
Click Premium to display the premium receipts information for the Invoice.
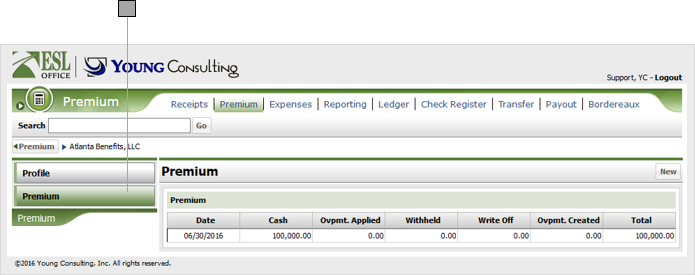
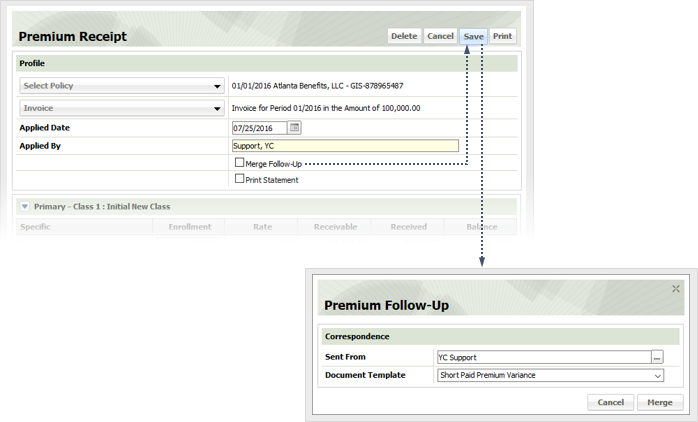
Click New to display the Premium Receipt window.
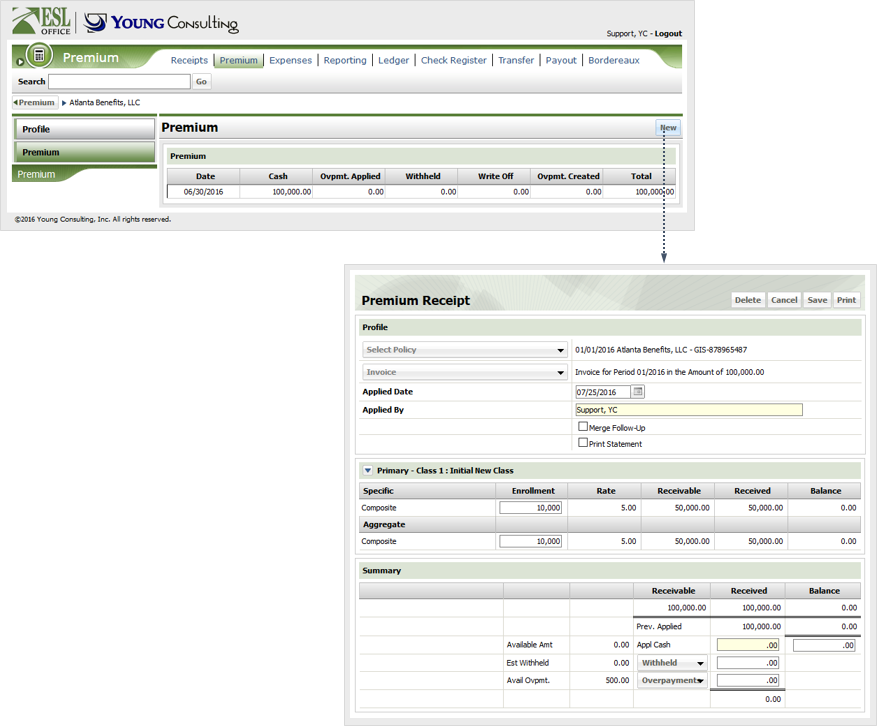
Enter the amount of the new premium in the corresponding overpayment or withheld field, depending on from where you want to allocate funds.
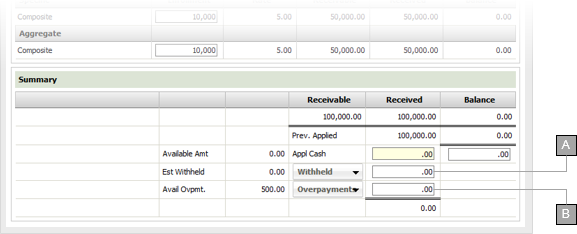
Allocated from withheld amount goes here.
Allocated from Overpayments amount goes here.
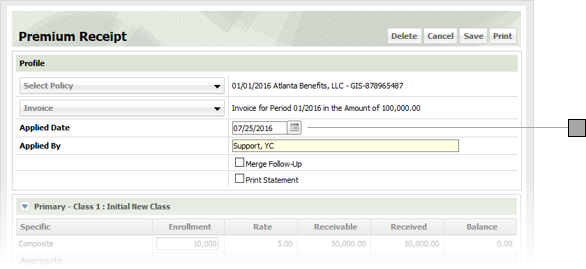
Specify the date the premium was allocated in the Applied Date field. The default is today's date. Enter a new date directly into the field in MM/DD/YYYY format or click the calendar icon and specify the date using the date picker tool.
Check Merge Follow-Up if you want to generate a document containing premium due information you can send to the policyholder or other relevant parties when you save the new premium. Check Print Statement if you want to generate a statement when you save the new premium.
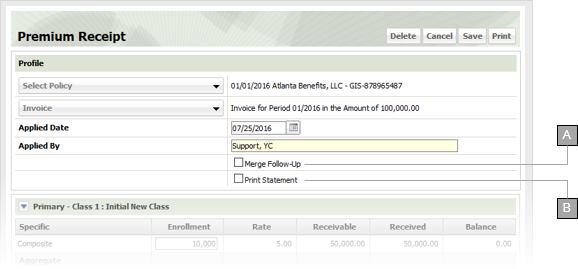
Check to generate a PDF document containing premium due information you can send to the policyholder or other relevant parties.
Generate a PDF of the statement.
Click Save. If you checked Merge Follow-Up, the Premium Follow-Up window appears.
Specify who is sending the follow up. The default sender is the currently logged in user. If you want to change the sender, click the button to the right. Search for the desired company and click it to display the contacts defined for that company. Click the desired contact to place him or her in the Sent From field.
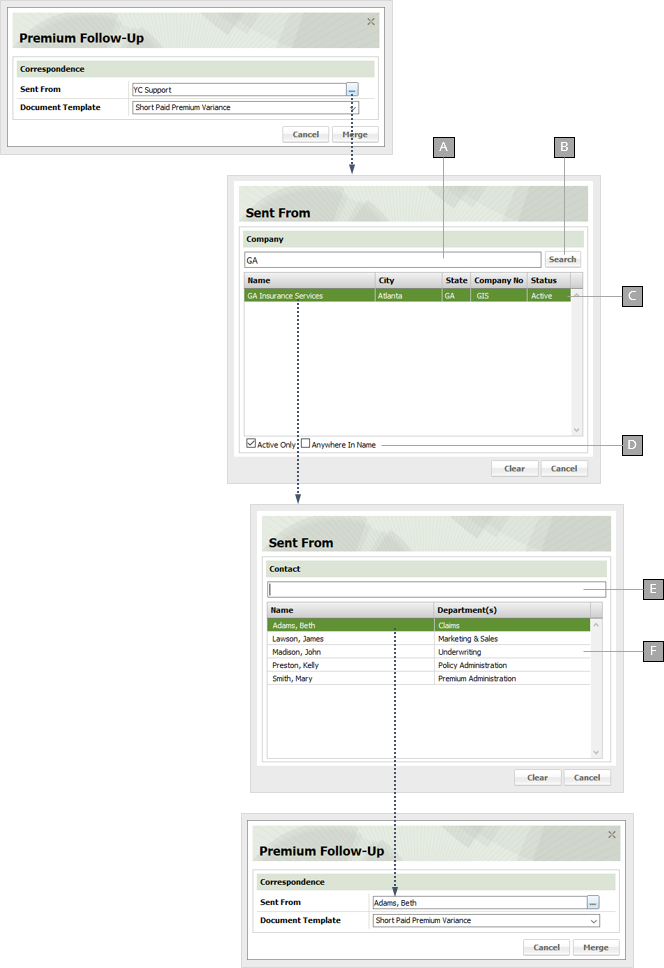
Enter some or all of the desired company name here.
Executes the search.
Search results appear here. Click a company to see its authorized contacts.
Check Active Only to limit your search to active companies. Check Anywhere in Name if you want to return matches on your search text no matter where it appears in the company's name. Clear this box to only return company whose names begin with your search text.
Filter the contact list to only those listings matching what you enter here.
List of all authorized contacts for the specified company. Click a contact to place him or her in the Premium Follow-Up Sent From field.
Specify the follow-up form to use from the Document Template drop-down and click Merge.
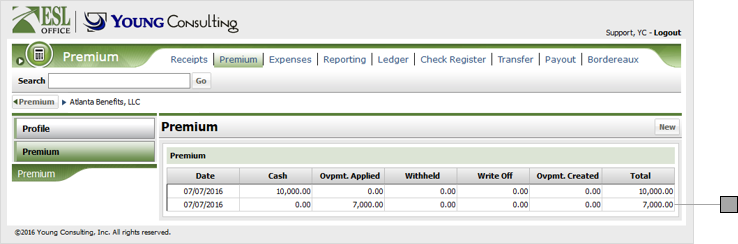
When you are finished creating the new premium, it appears in the list of premium allocations for the invoice.