6
Apply a Receipt to an Invoice
You can apply monies from receipts allocated to a policy toward any invoice for that policy.
6.1
Click the Account button and locate the desired account using the Search window.
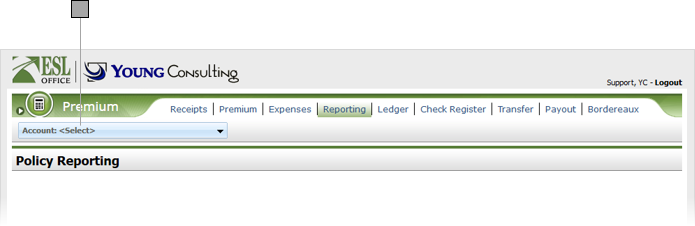
6.2
Click the Premium sub tab then click the desired invoice to display its profile.
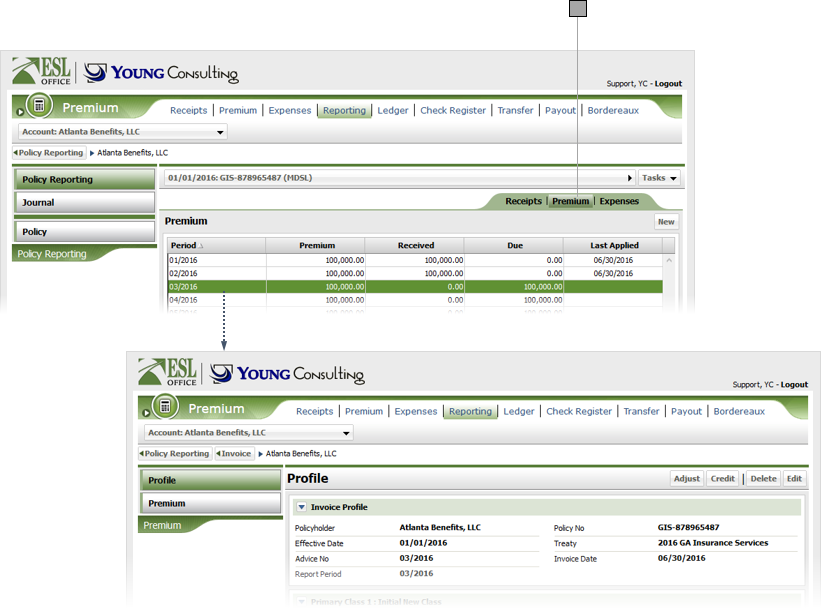
6.3
Click Premium to display monies applied to the invoice.
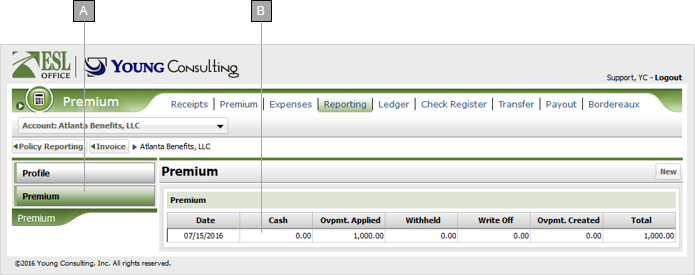
A
Displays monies applied to the invoice as a premium payment.
B
Transaction details for monies applied as premiums. Transaction columns are as follows.
Date
Transaction date.
Cash
Premium payment came from premium allocation funds.
Overpmt. Applied
Premium payment came from overpayment funds.
Withheld
Premium payment came from withheld monies.
Write Off
Amount of the premium written off.
Overpmt. Created
If the amount applied to the invoice was more than the premium due, the surplus shows here.
Total
Total funds applied toward the invoice.
6.4
Click New to display the Premium Receipt window.
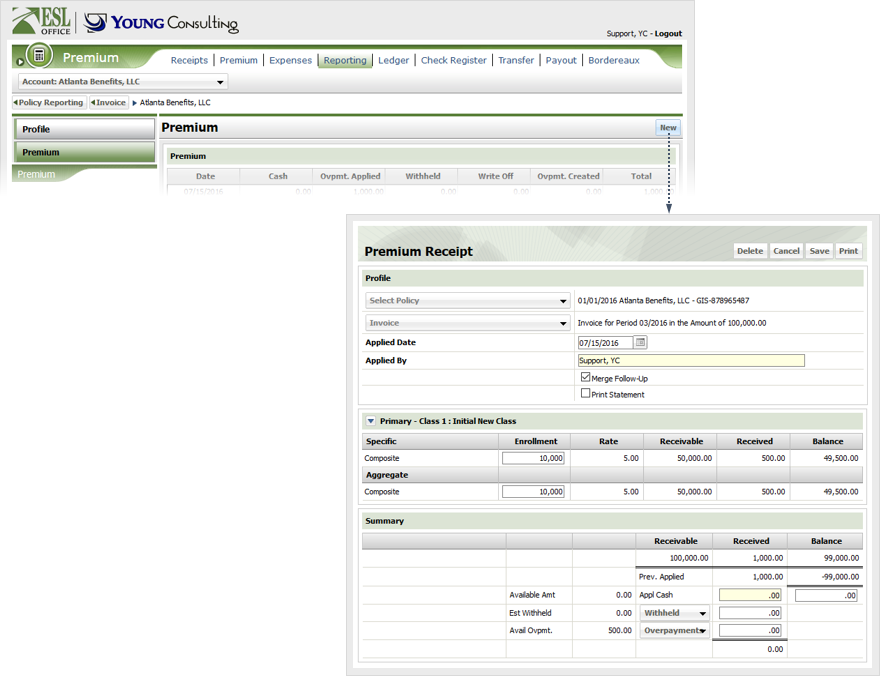
6.5
Specify premium information as follows.
Applied Date
Specify the date you applied the receipt. Defaults to the current date. You can enter a new date directly in the field in MM/DD/YYYY format or click the calendar icon and specify the date using the date picker tool.
Applied By
Who applied the receipt. Generated by ESL Office and is the person currently logged in. You cannot edit this field.
Merge Follow-Up
Check this box if you want to send a follow-up email to the policy holder regarding any premium over or under payments.
Print Statement
Check this box to generate a PDF of the statement after you have completed and saved the allocation.
Enrollment
Enter specific and aggregate enrollments as desired.
Appl Cash
If you want to apply monies from available cash, enter the dollar amount to apply in this field.
Est Withheld
If you want to apply monies from withheld funds, enter the dollar amount to apply in this field.
Avail Ovpmt.
If you want to apply monies from overpayment funds, enter the dollar amount to apply in this field.
6.6
Click Save to create the allocation. Click Delete to delete the allocation. Click Print to generate a PDF of the allocation.